|
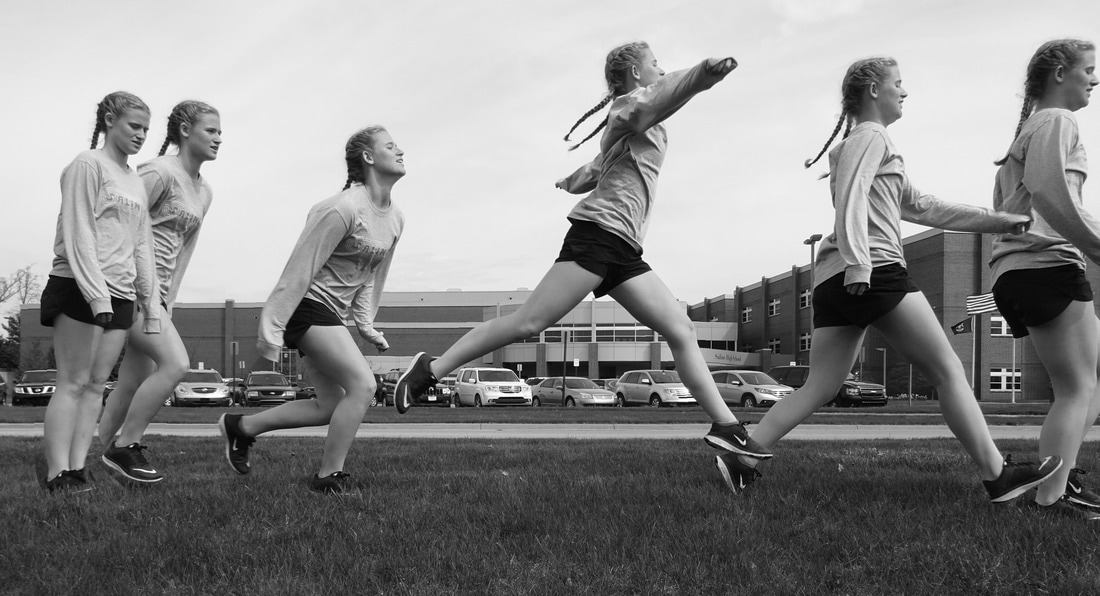
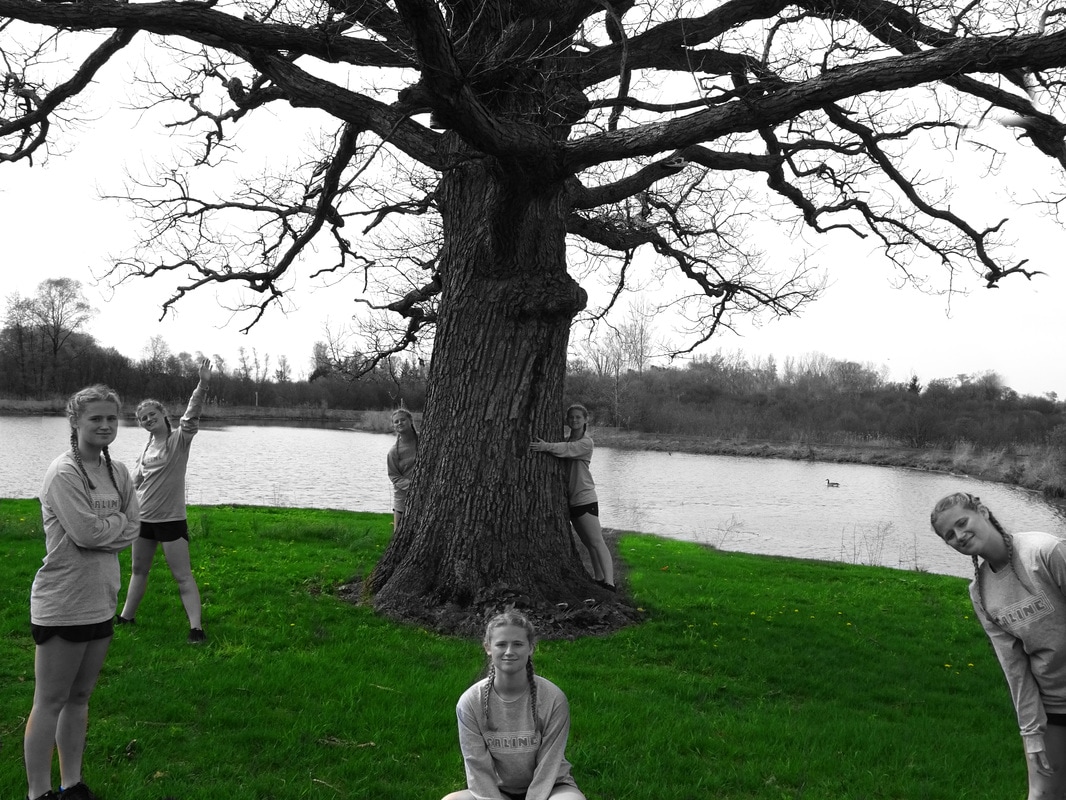
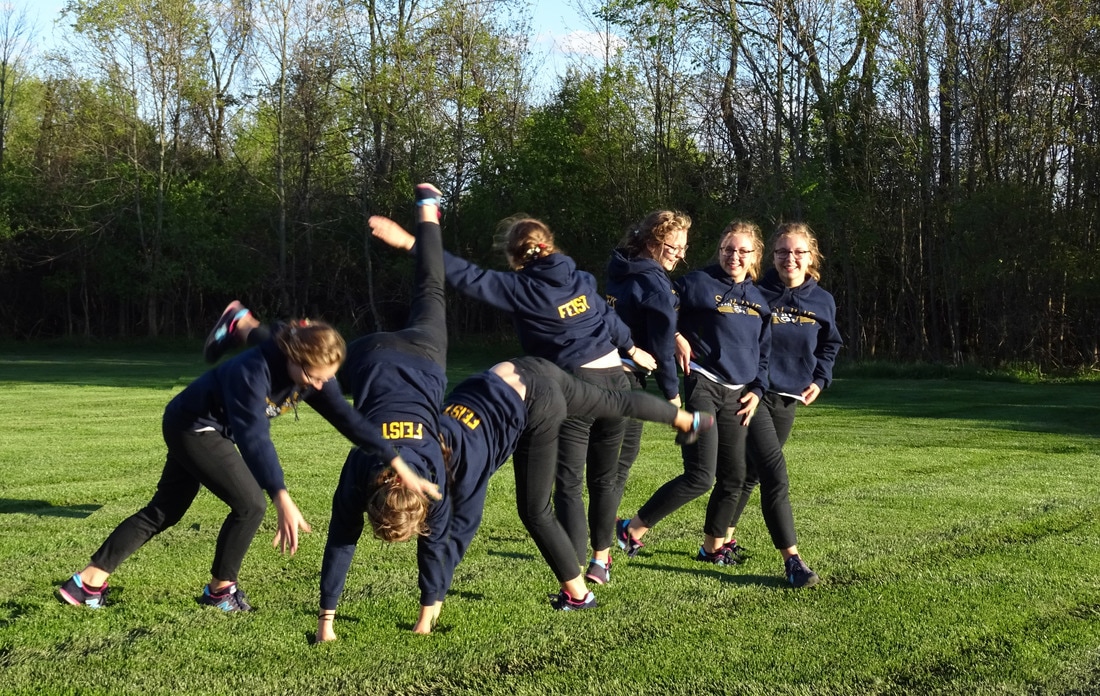
In photo 1 we already did Multiple me. We took multiple pictures of ourselves and added them together. Every picture was hot individually. This time we added motion to it. We took multiple pictures very fast after another and merged them together. So out of five or more pictures we made one. We had to be careful to blend them together so that you don't see the edges of the other pictures.
1 Comment
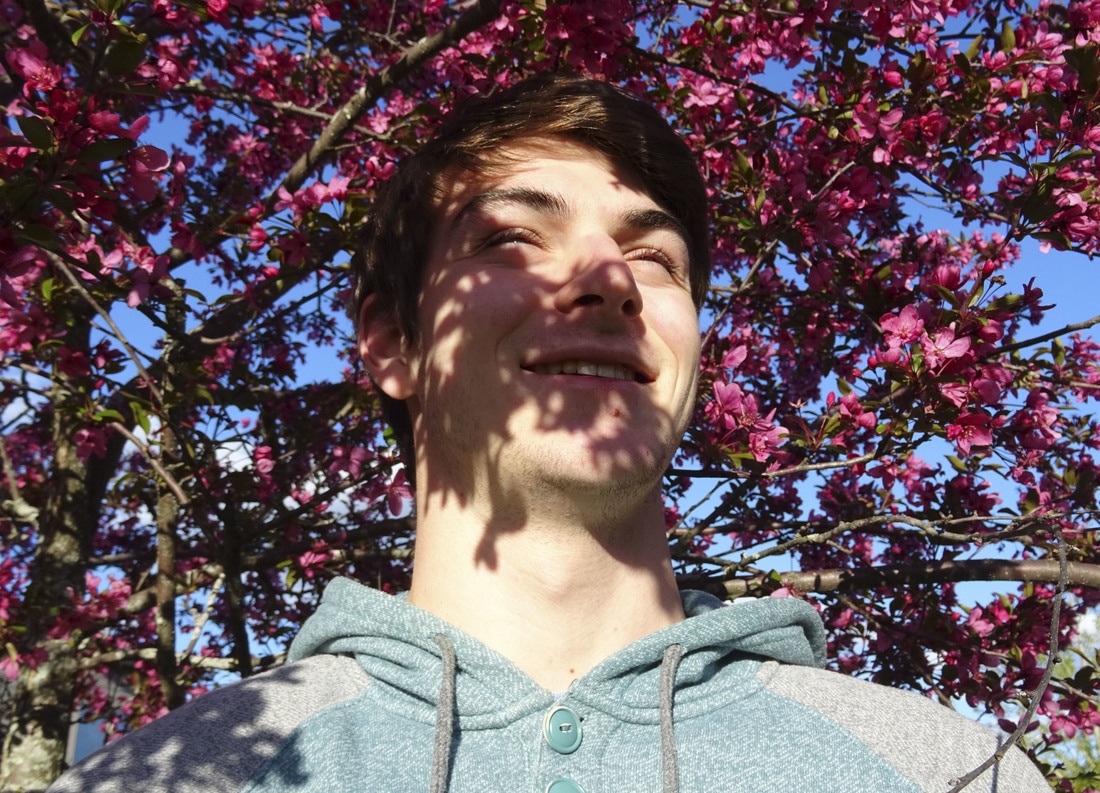
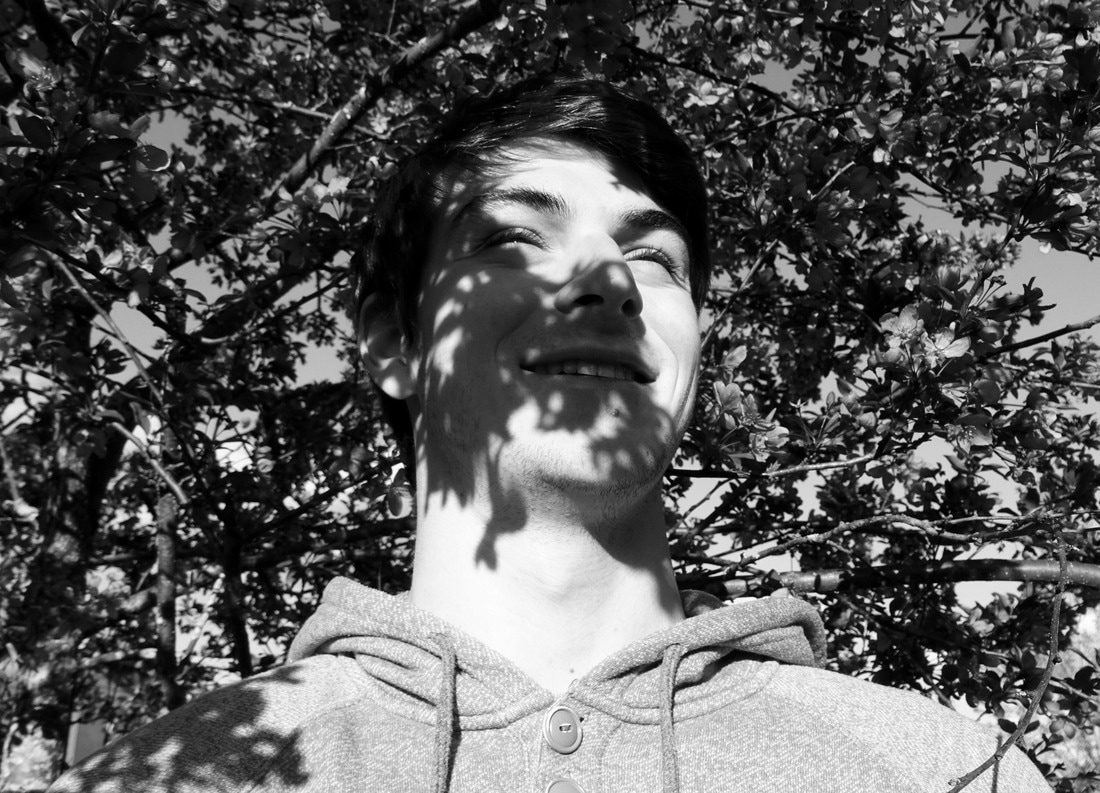
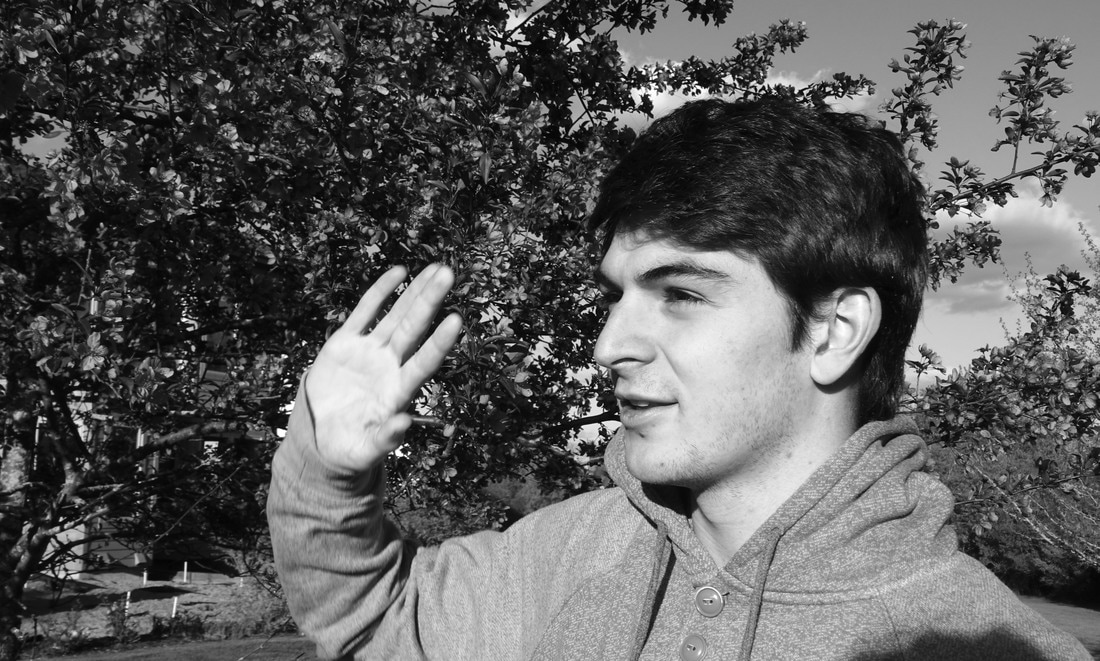
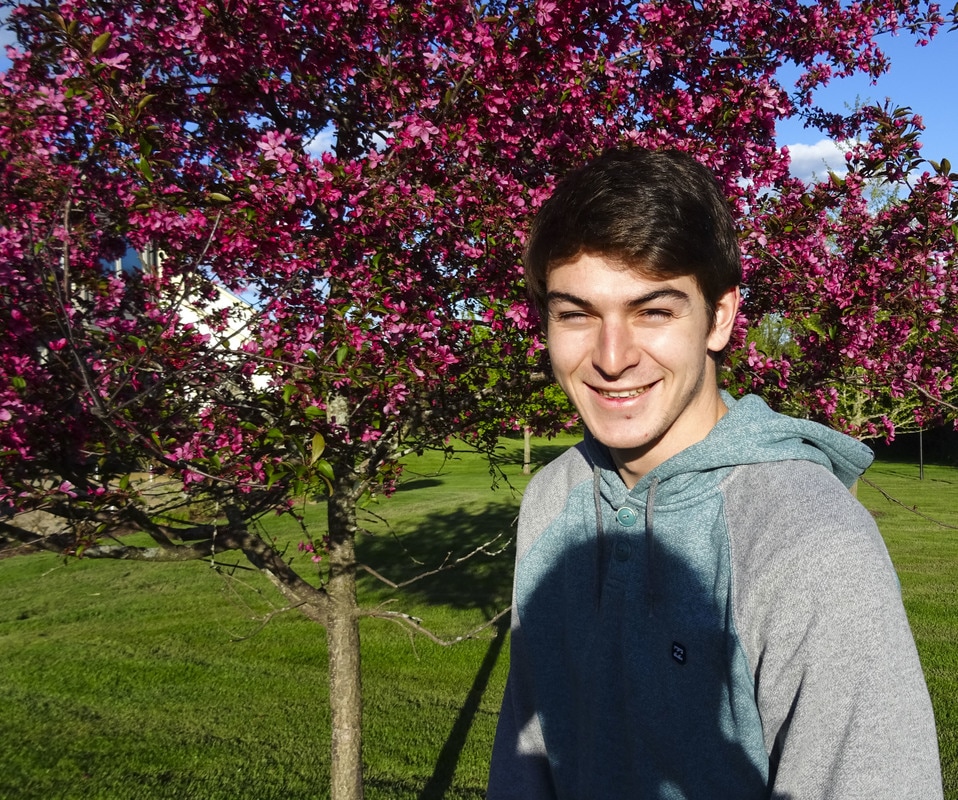
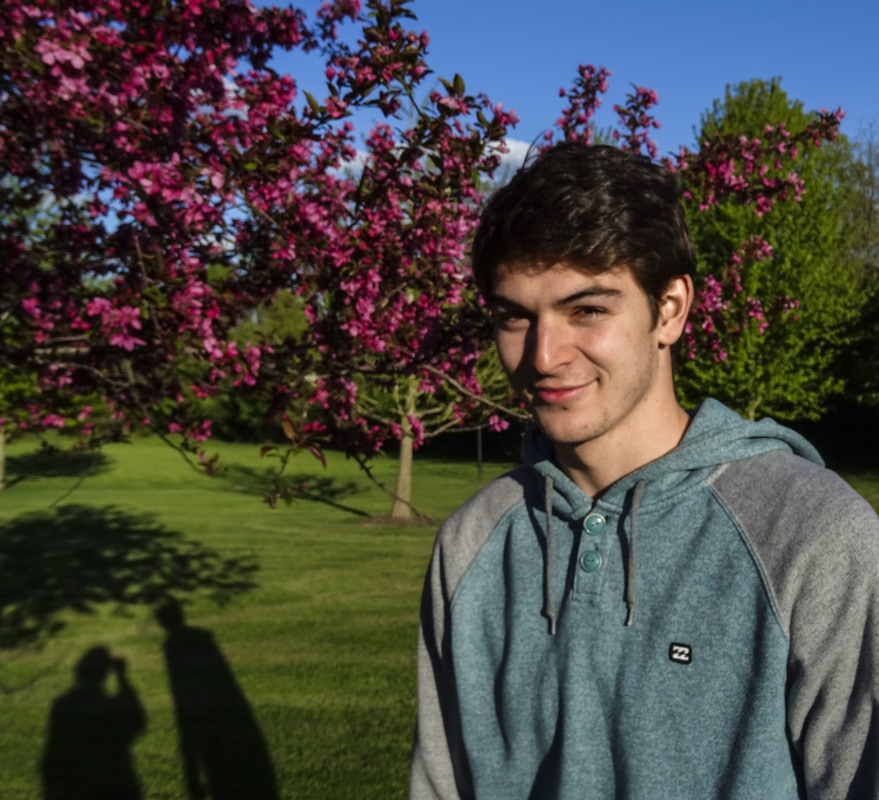
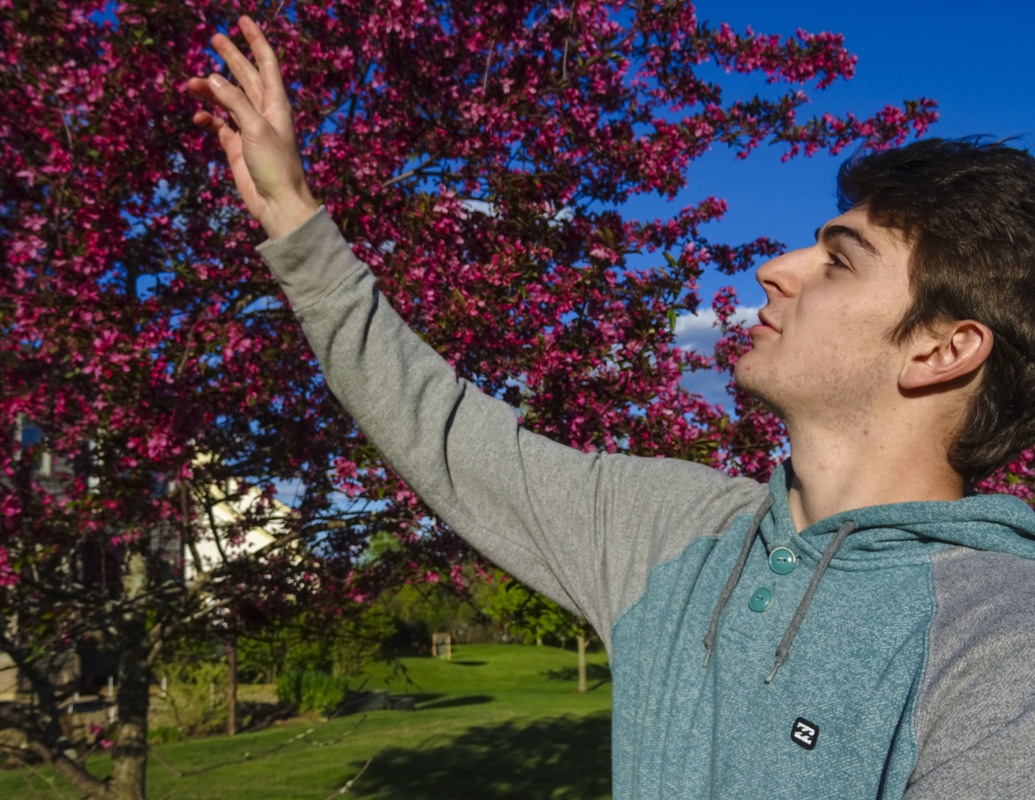
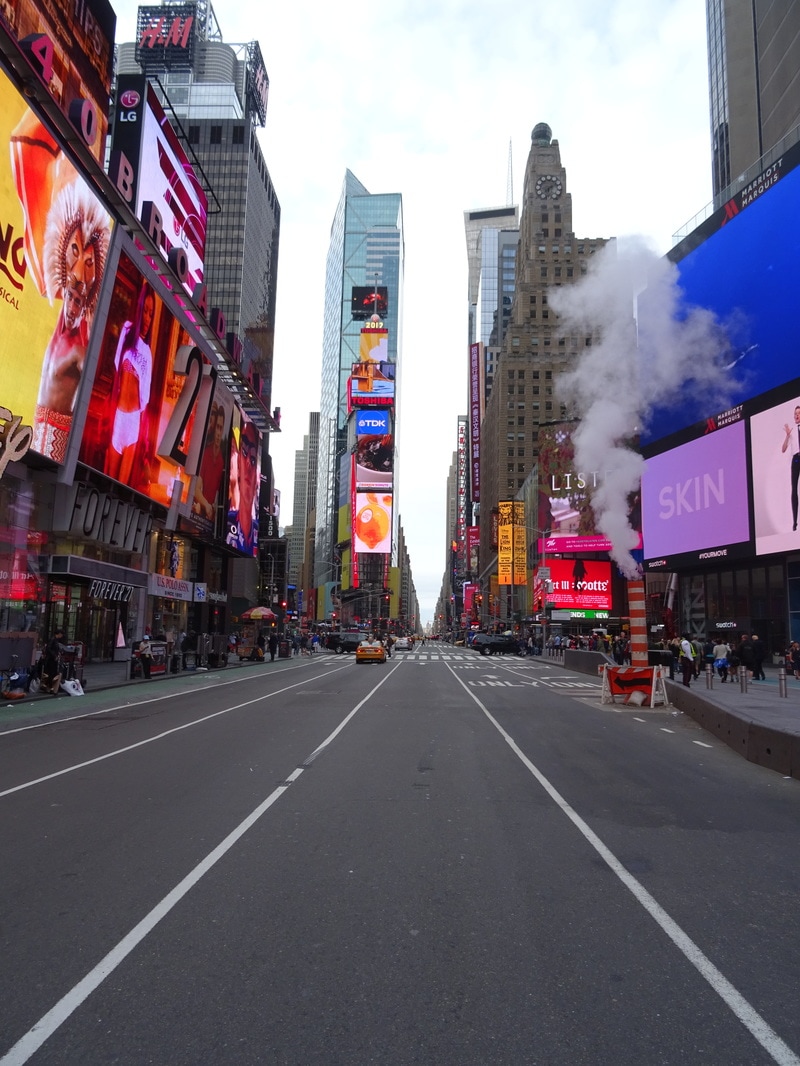
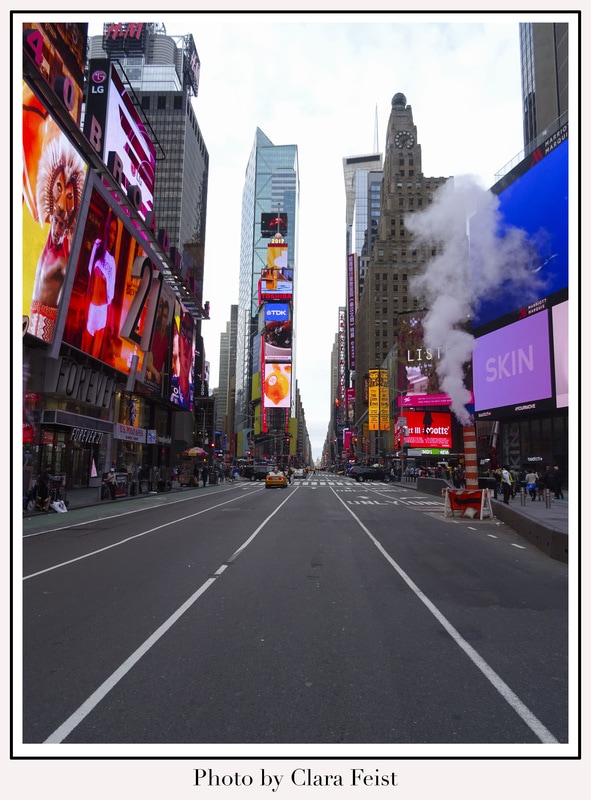
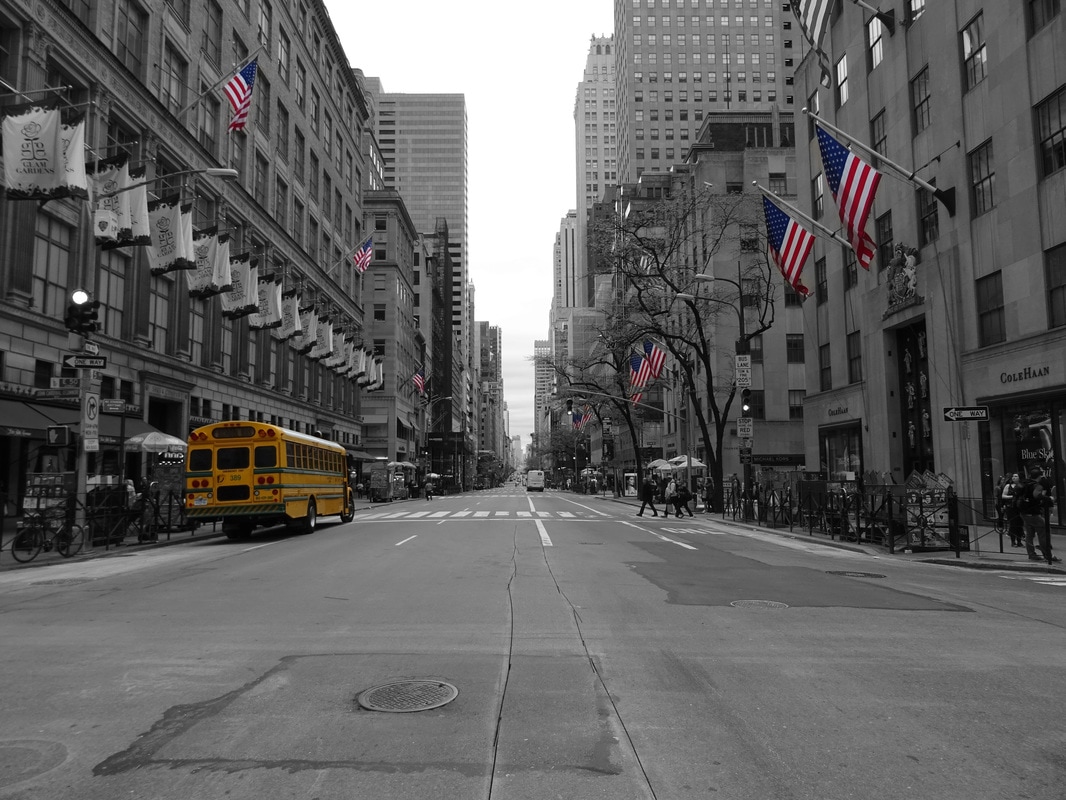
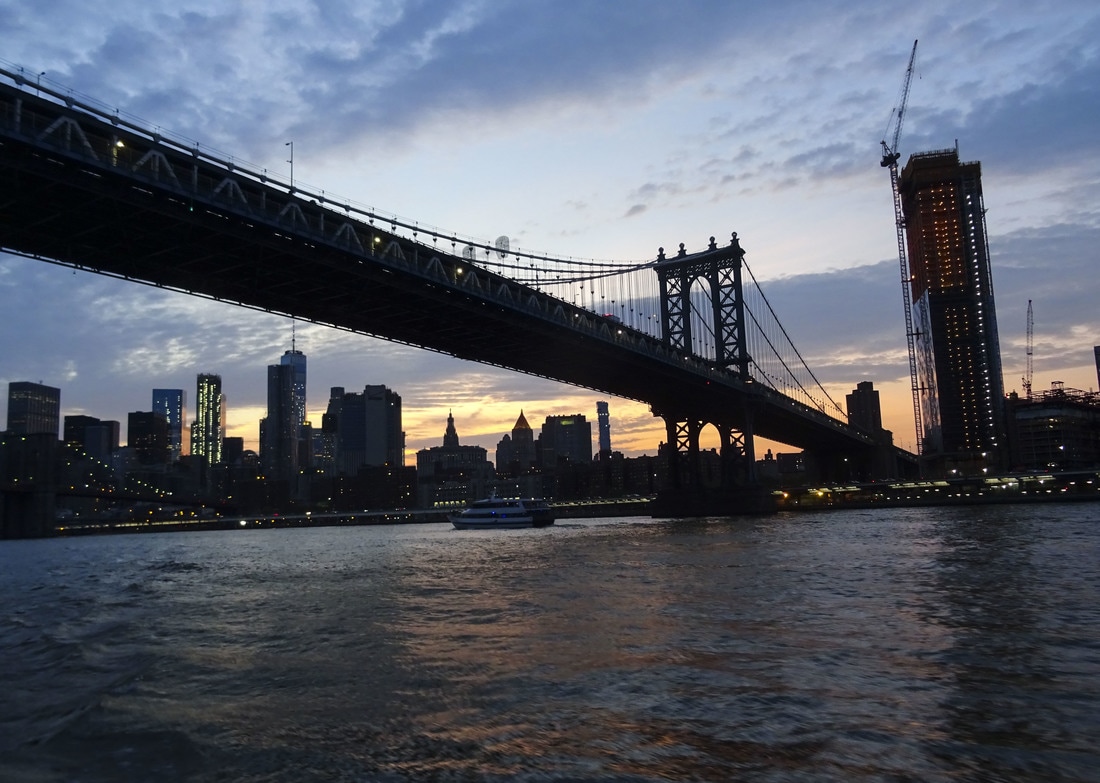
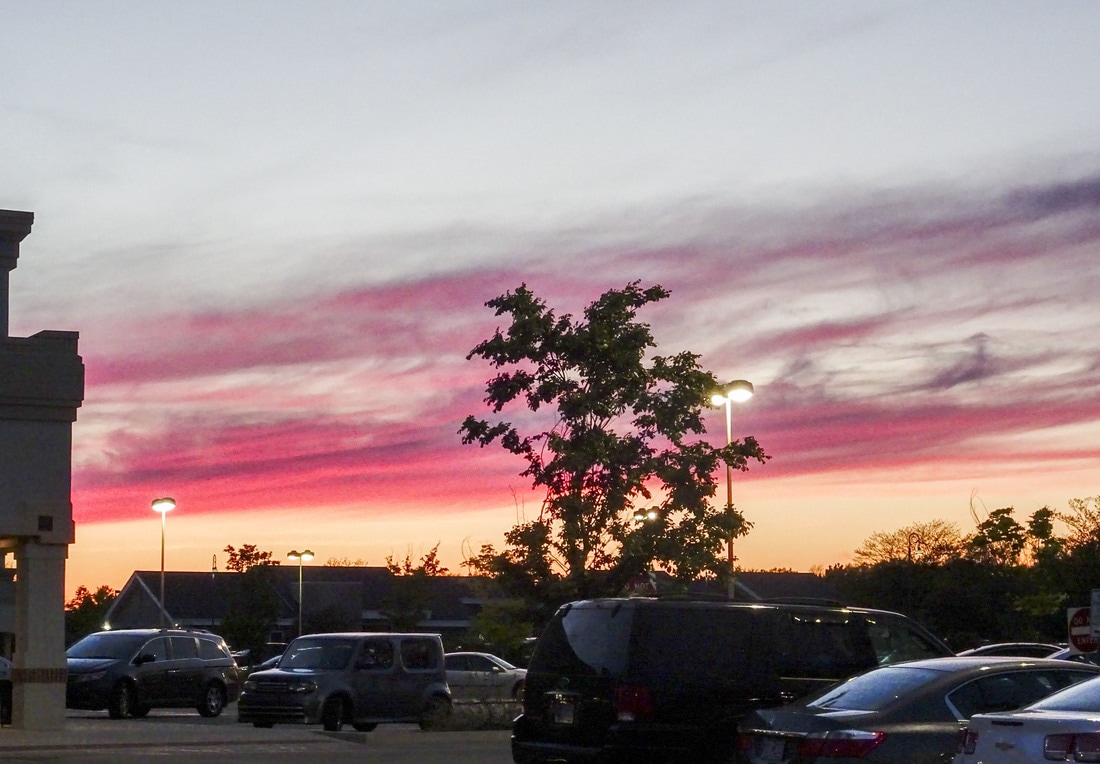
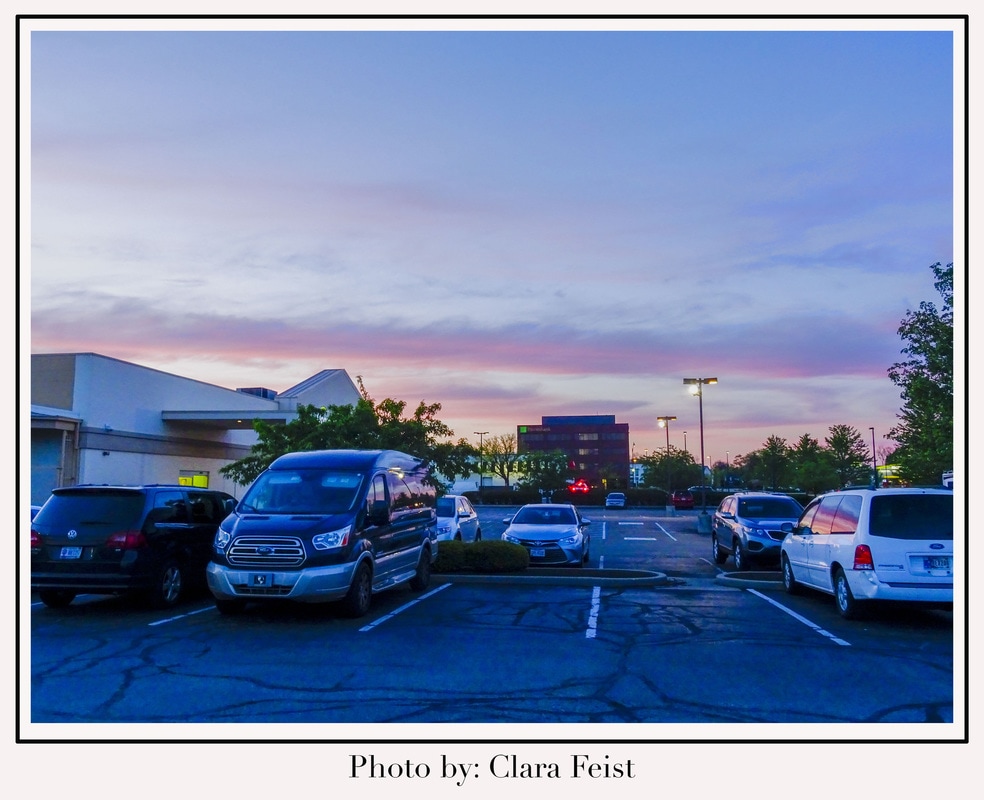
This week I decided to take pictures of people. The weather was kind of cold but the sun was shining. The time when I took the pictures the sun already began to set. This made it easier for lighting. I like to experiment with shadows and light. Luckily I got help from my model who was willing to smile for the pictures :) My edits: saturation and vibrance totally down. Contrast and blacks up. This weekend I had a trip with my exchange organisation. More than 85 people went together, from all over the world. First we went to Washington D.C and than to NY. It was an amazing experience. We all had a lot of fun. And of course I took some pictures. I also had a lot of fun taking the pictures because I always try to collect as many memories as possible. Now, whenever I want to look back at the trip, I have many pictures to bring back all the memories! My edits: saturation and vibrance up, more contrast and more shadows. Than I added the frame around the picture. I sometimes had problems taking pictures in the dark or when the sun went down. But I tried different settings in the m mode and it ended up being pretty easy. After I got better, I had more fun and I was happy whenever I took a good picture. I learned to never give up and always keep trying until you get it.
HDR (High dynamic range) pictures are not only one picture but three or more pictures combined into one. Each of them has different lighting. Usually it is one picture in normal lighting, one under, and one over exposed. All these together give the picture a greater scale of colors to look at that comes closer to the color capacity of our human eyes. The over exposed image brings out details in the dark areas and the under exposed picture brings out the highlights better. So together we have a very detailed picture with more colors. This week I also tried taking some HDR pictures. Turned out that I didn't really know my camera well enough to find the EV bracket. After a while of research and trying, I found the right settings. Once you figured it out it was pretty easy to take and put together. I learned that our normal cameras don't capture many colors. It normally only captures the highlights, shadows, and midtones. HDR gives a better opportunity to have more pictures and details. I also learned that using a tripot is really important, especially while taking pictures like that.
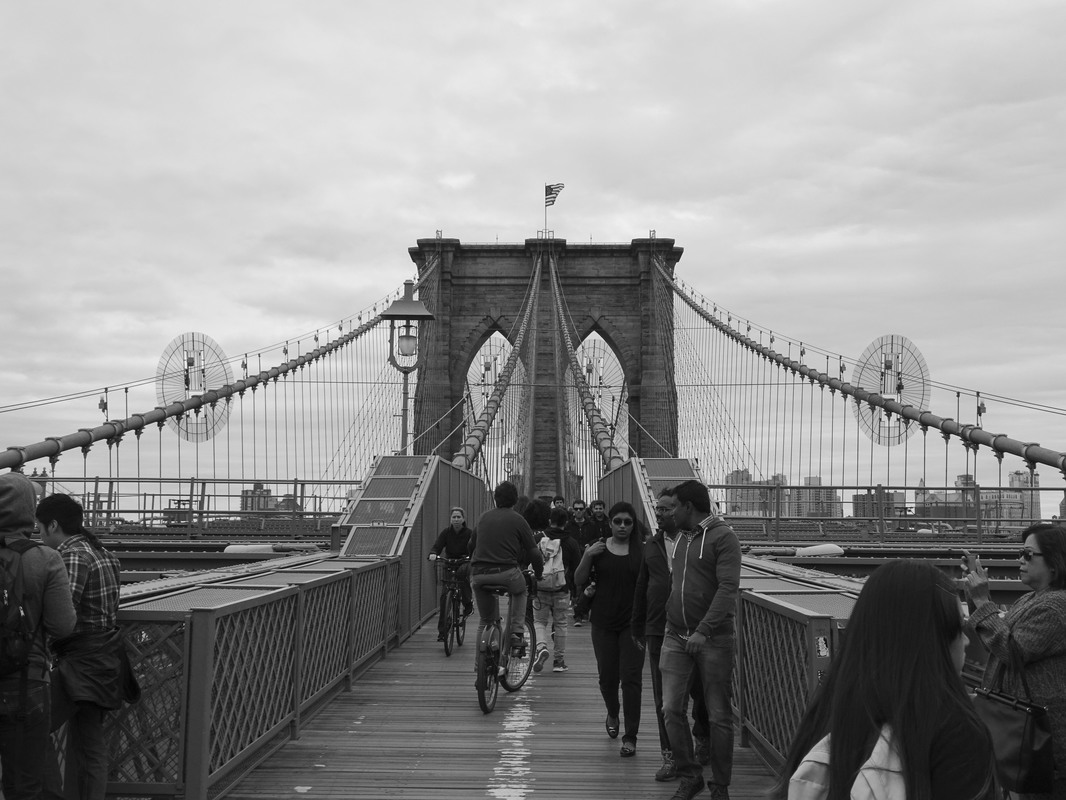
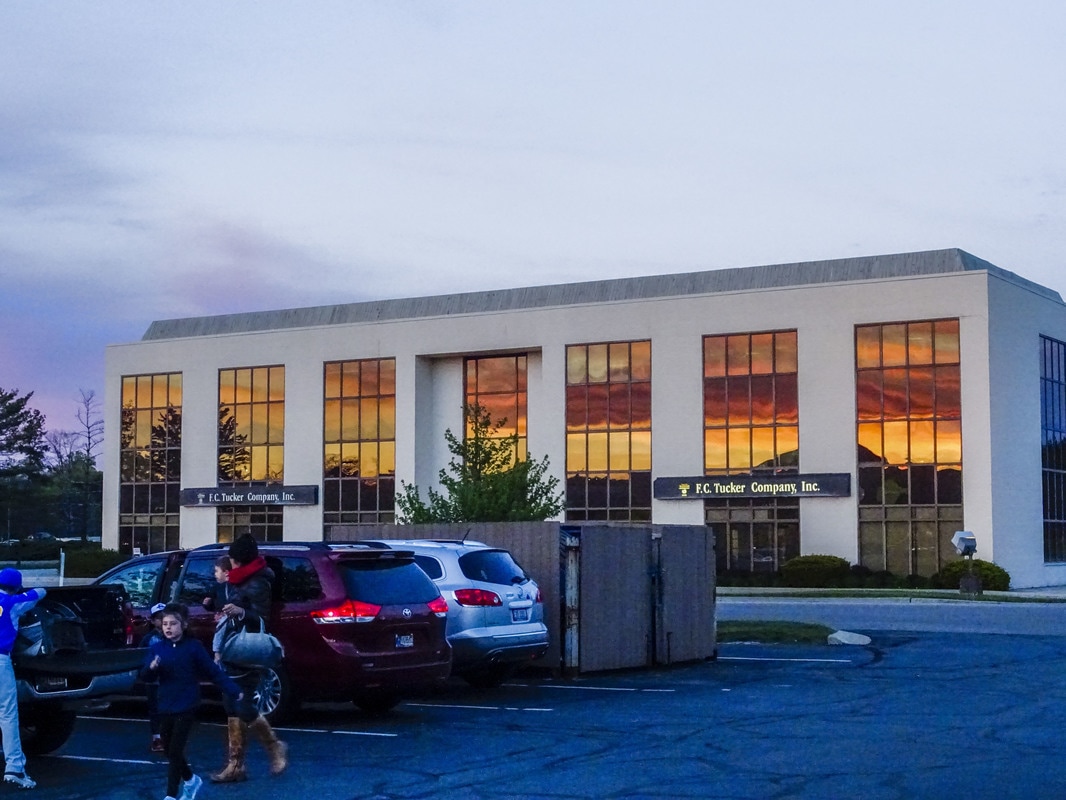
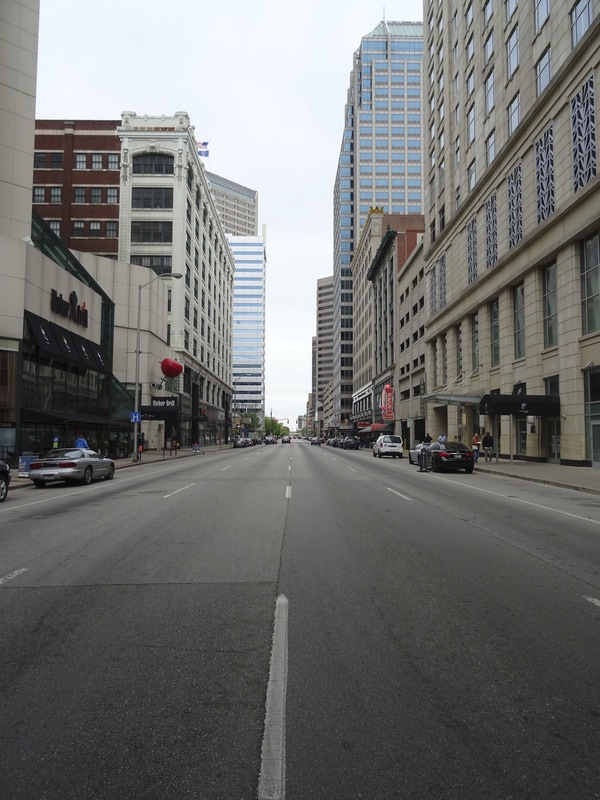
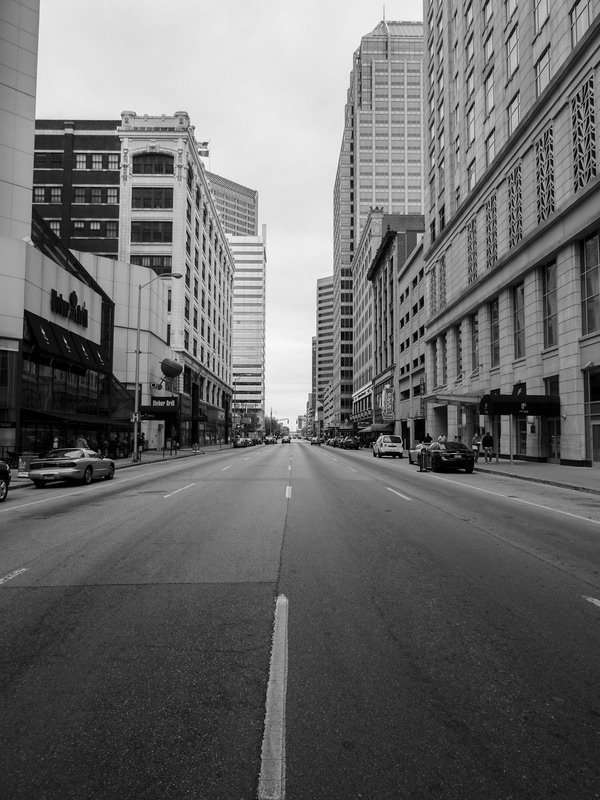
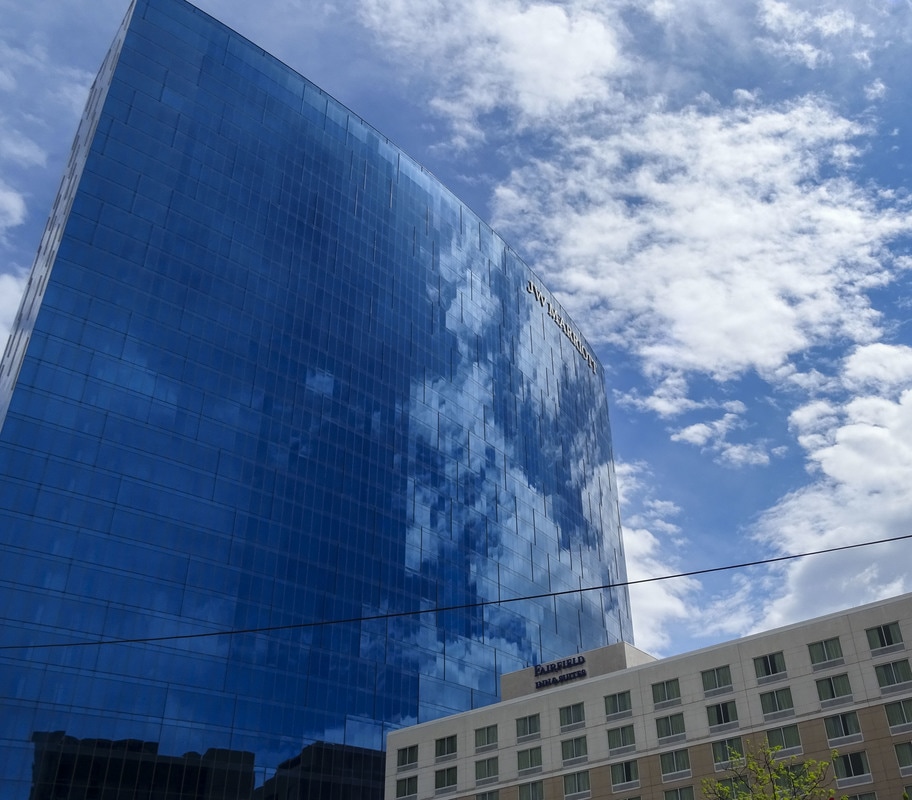
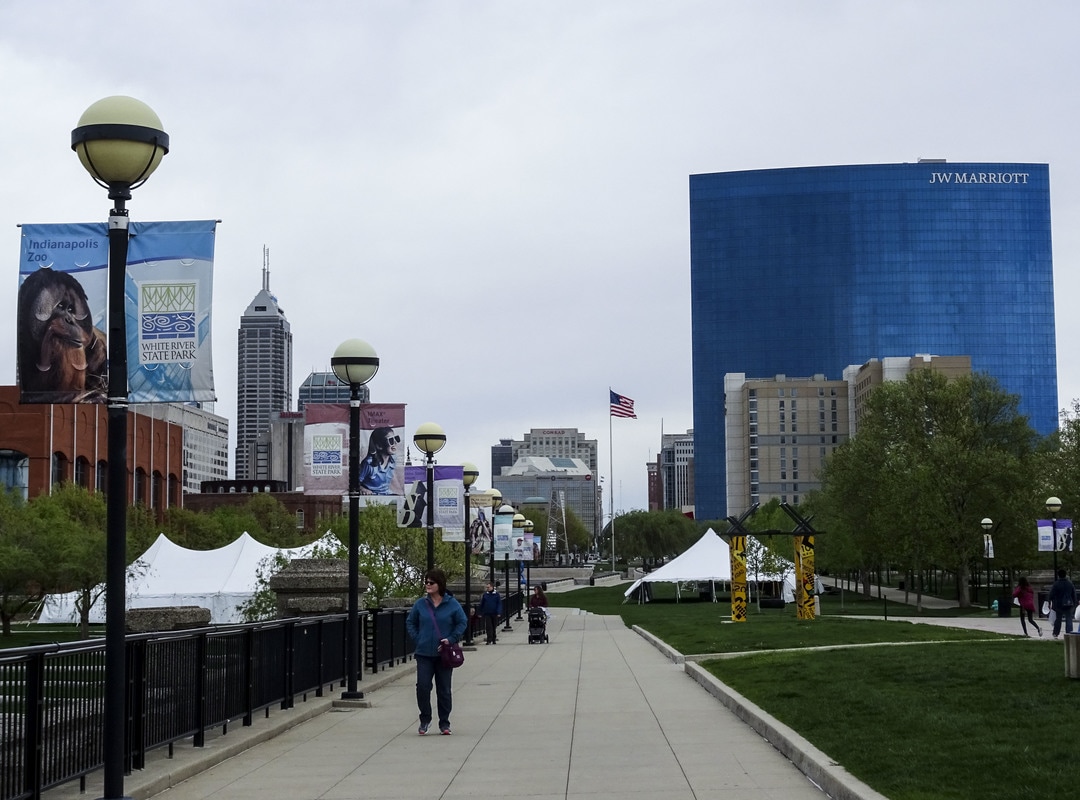
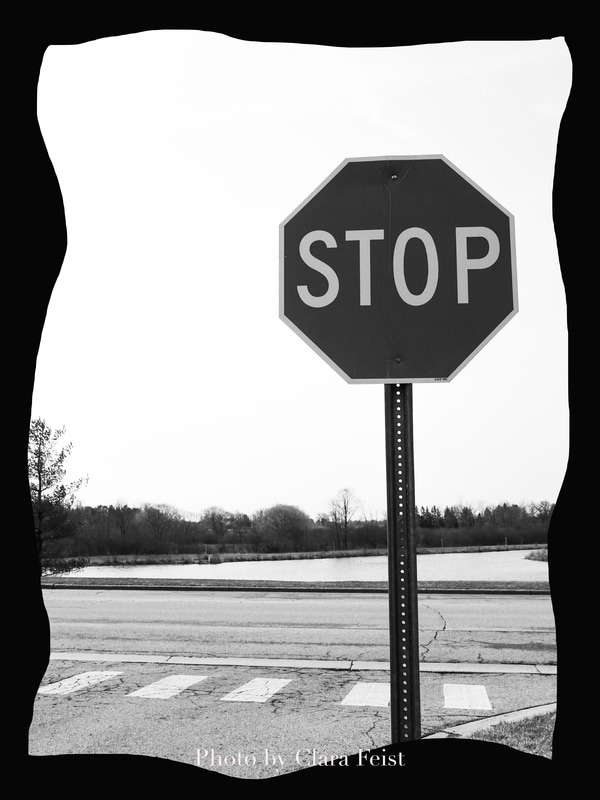
This weekend I went to Indiana and Indianapolis. The weather wasn't very good but I still took pictures. I really liked the way buildings or the clouds were mirrored on the glass facade of the buildings. It was a really nice weekend and I am glad I took some pictures. I learned that even if the weather is not very good, good pictures can be taken. Edits, more contrast, black and white and cropping can still make them interesting to look at.
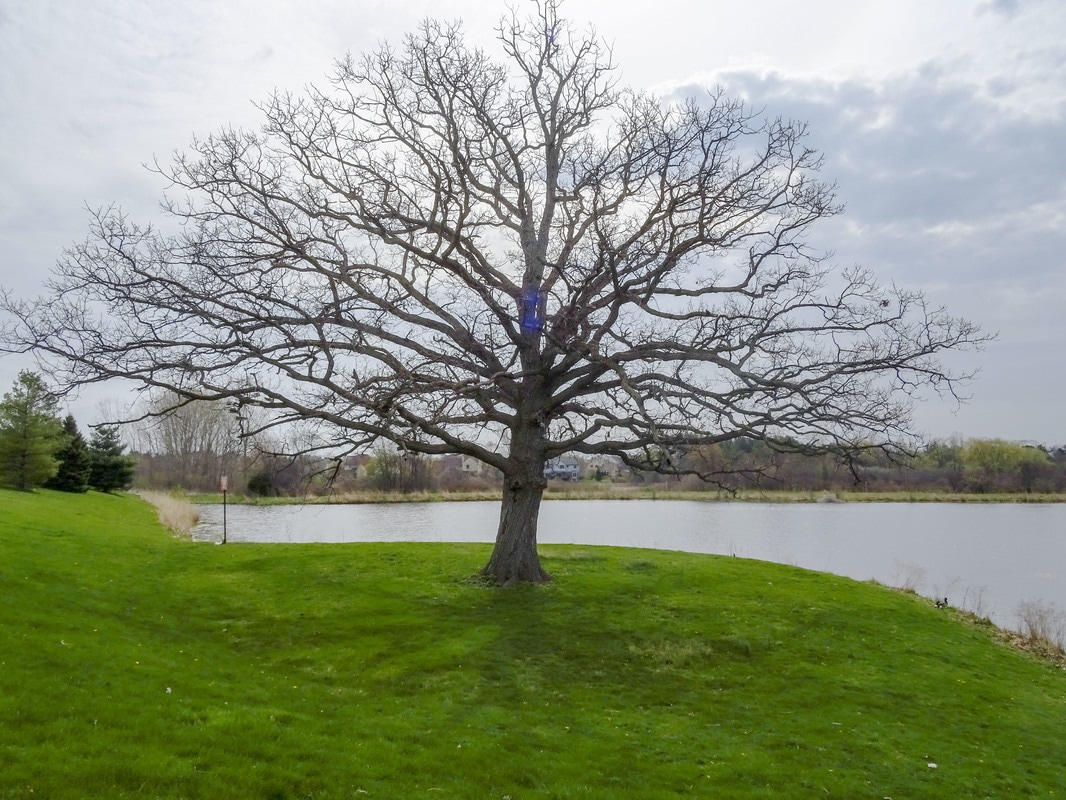
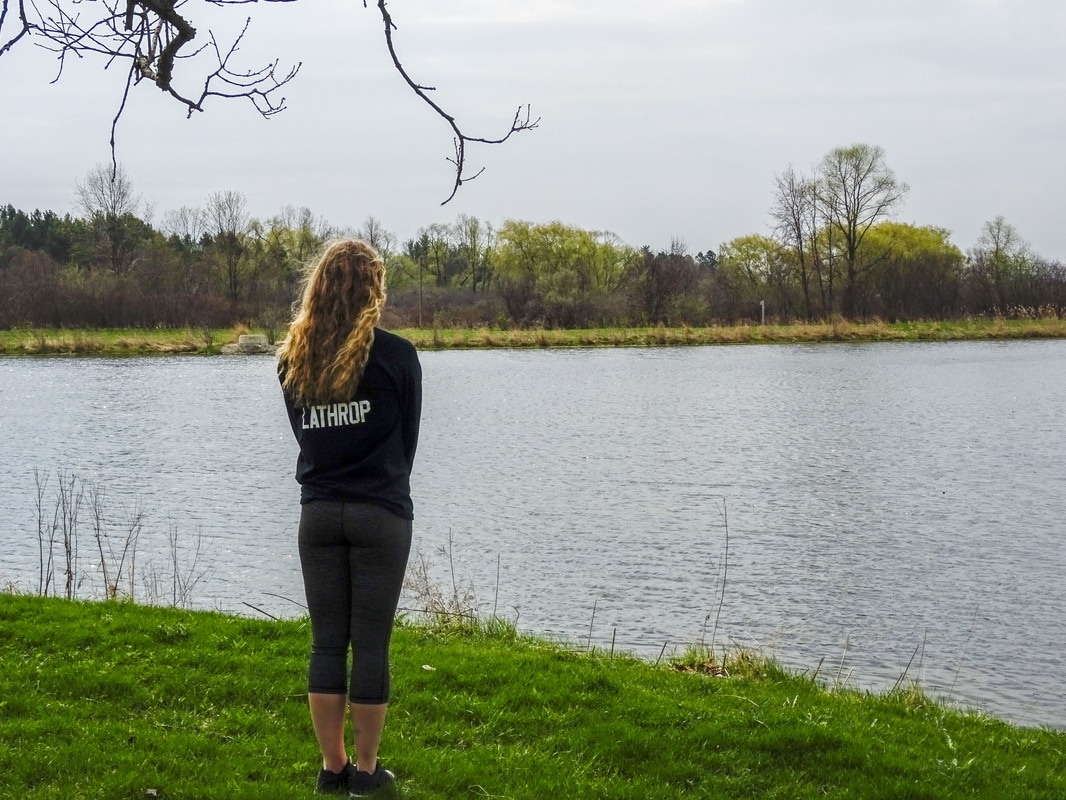
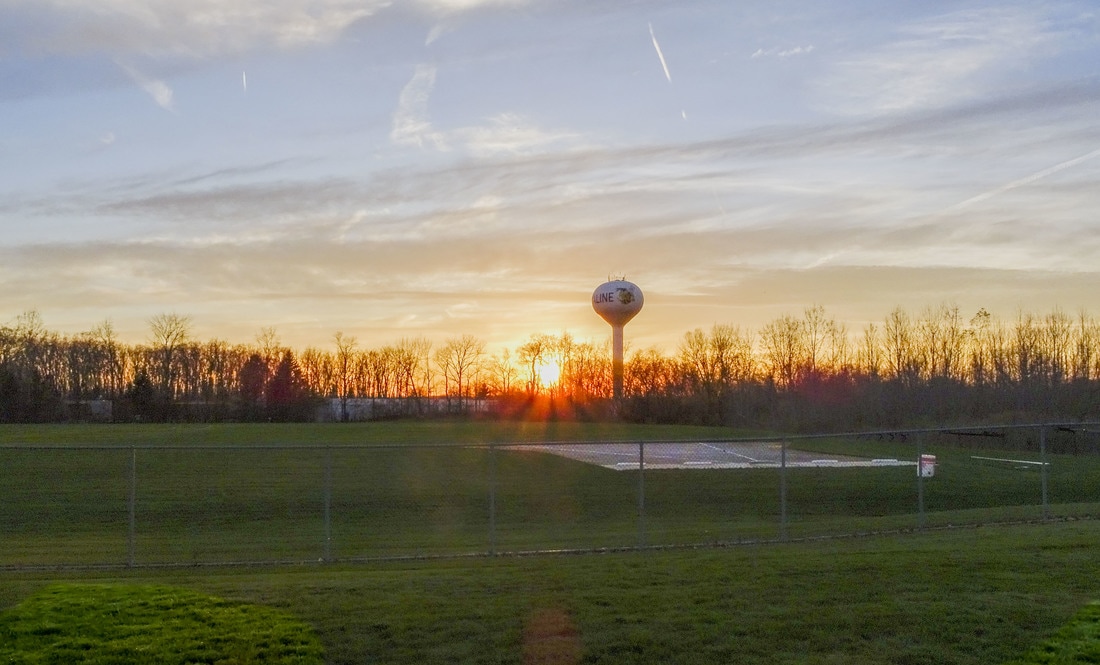
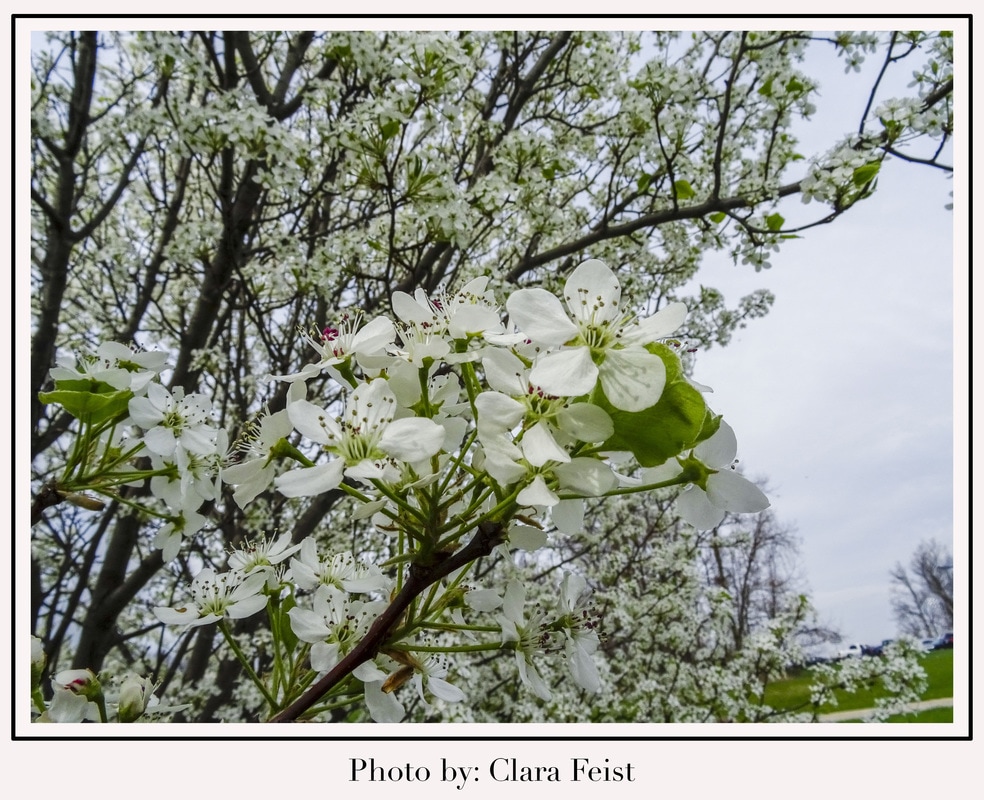
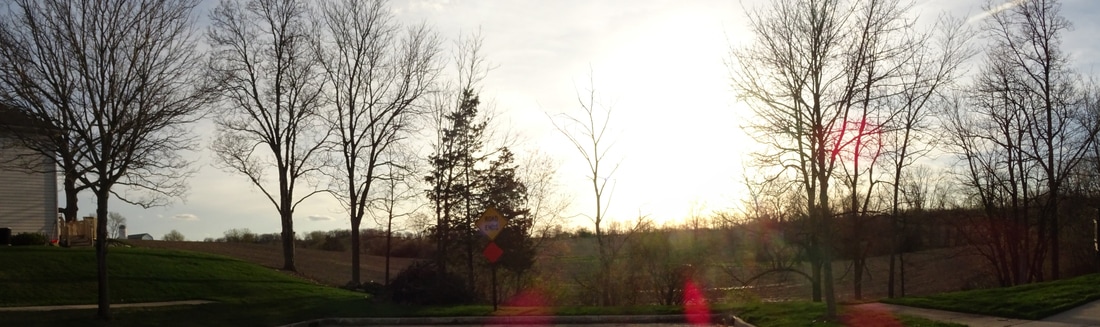
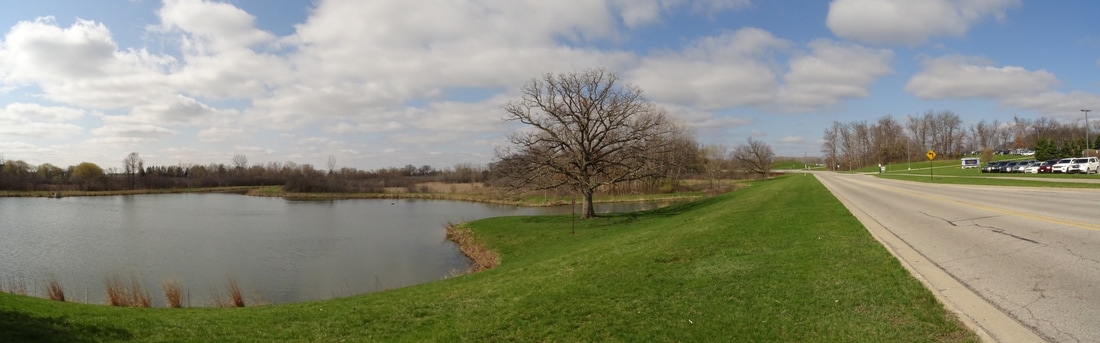
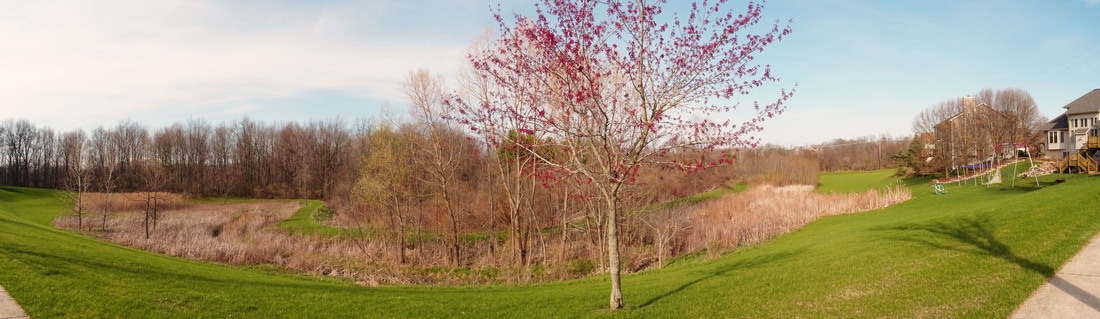
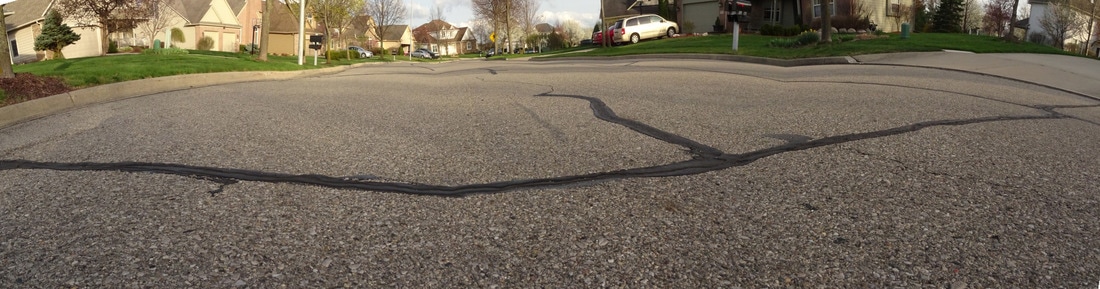
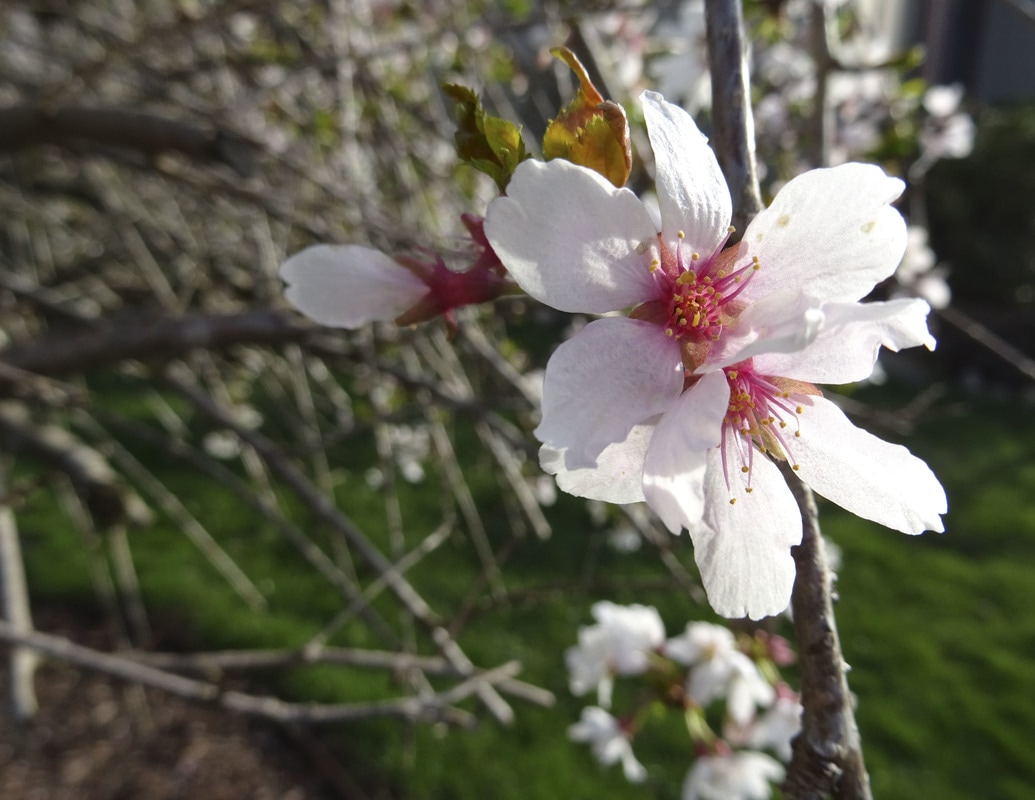
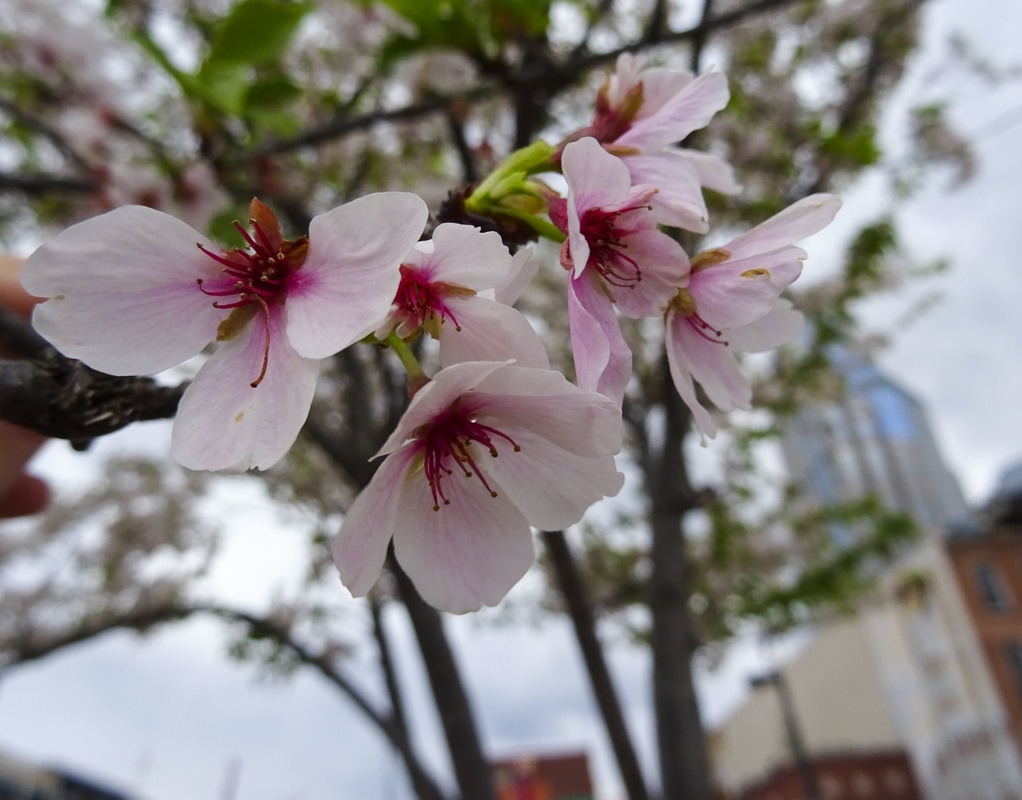
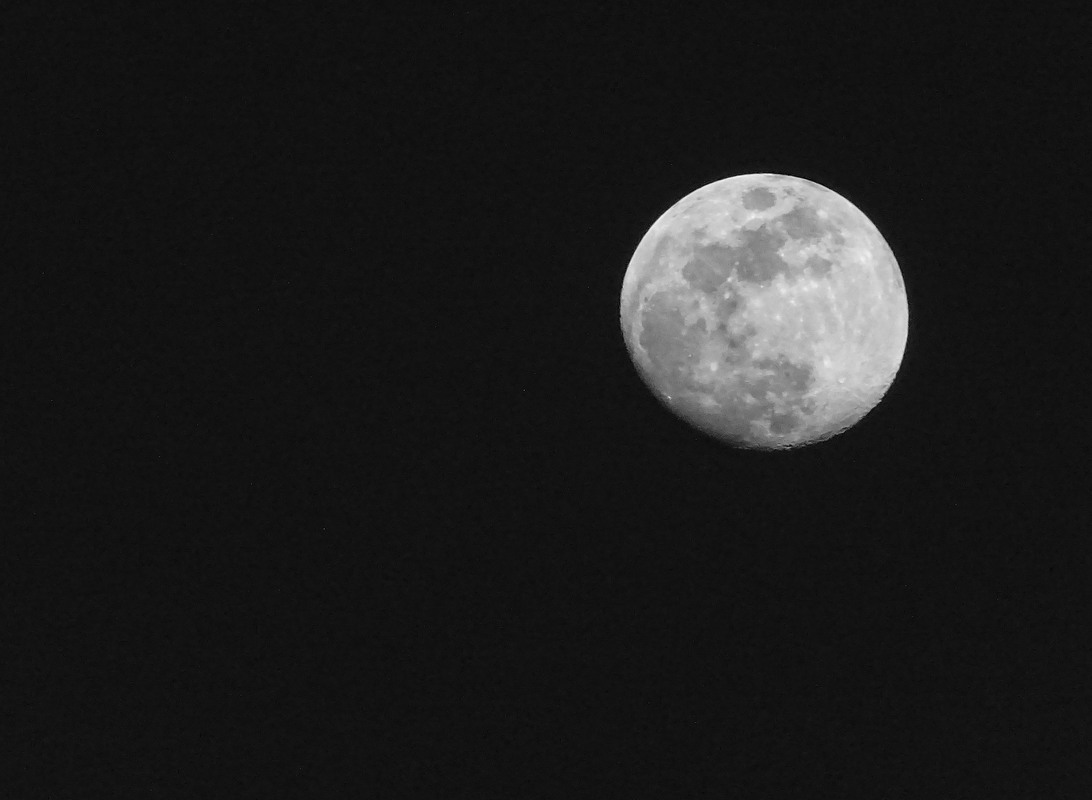
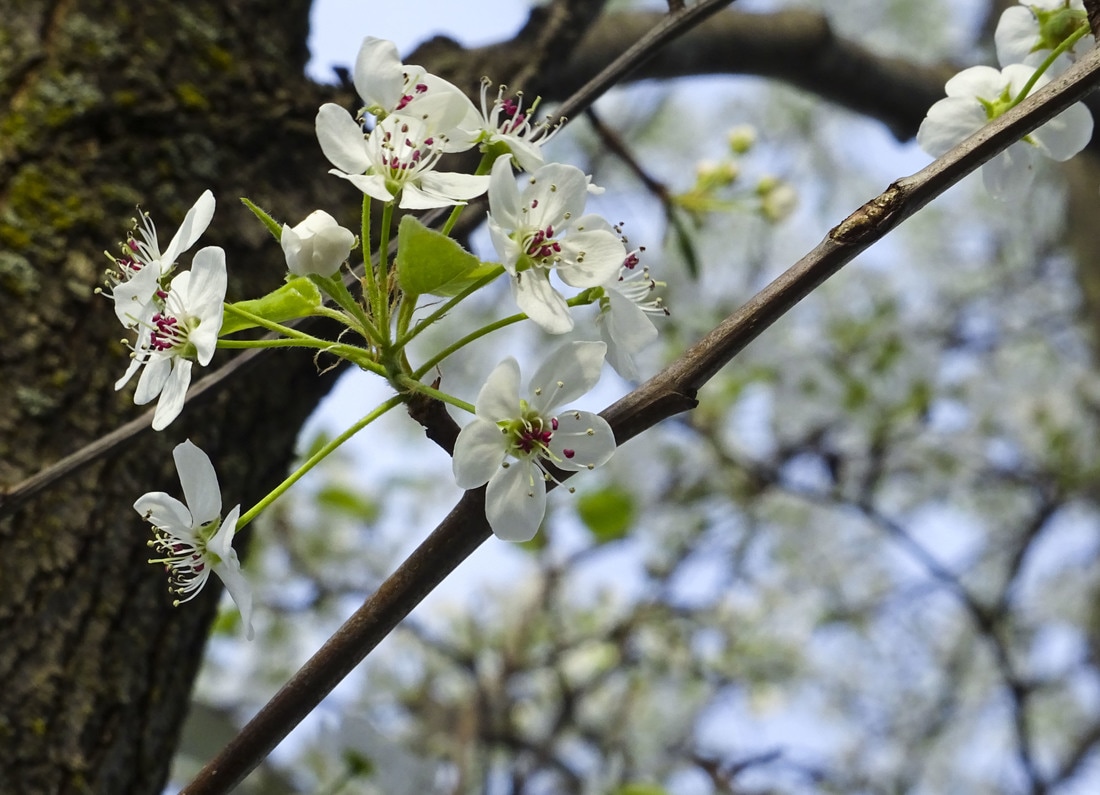
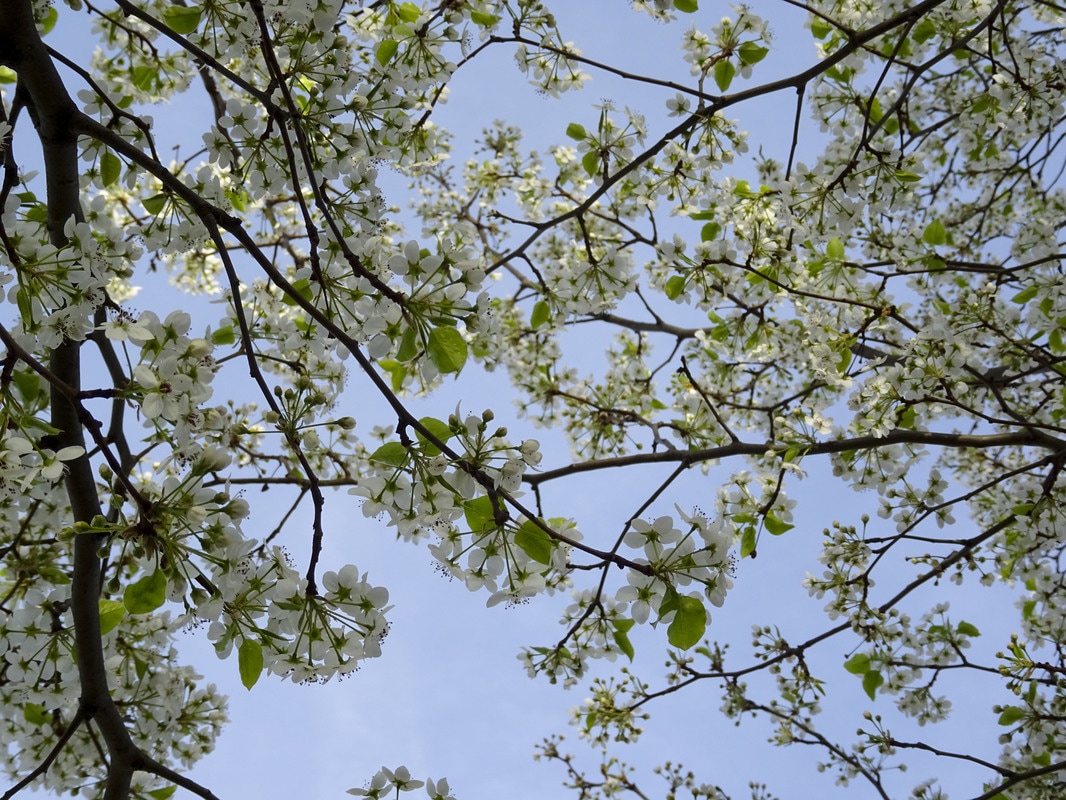
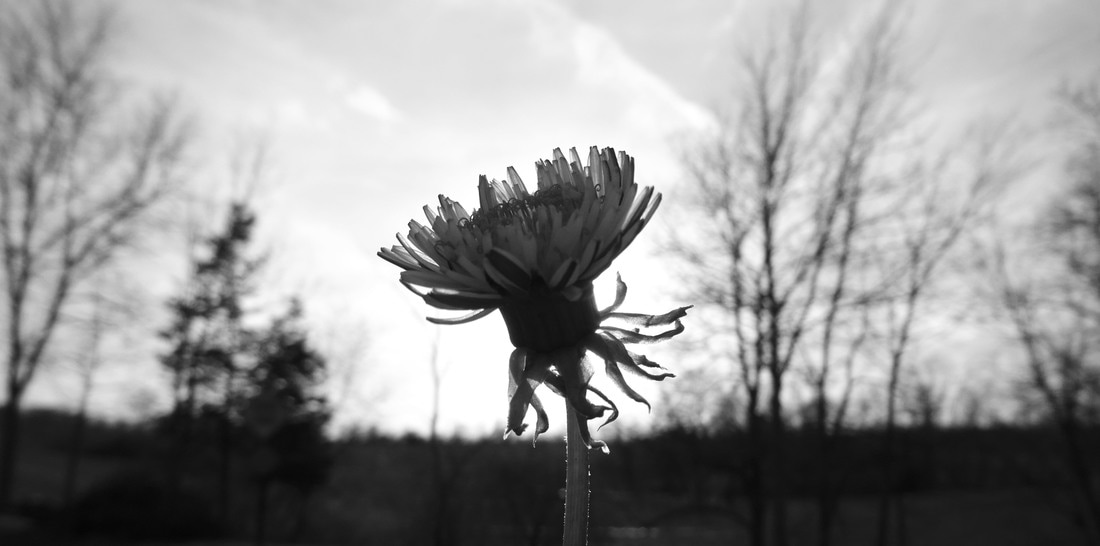
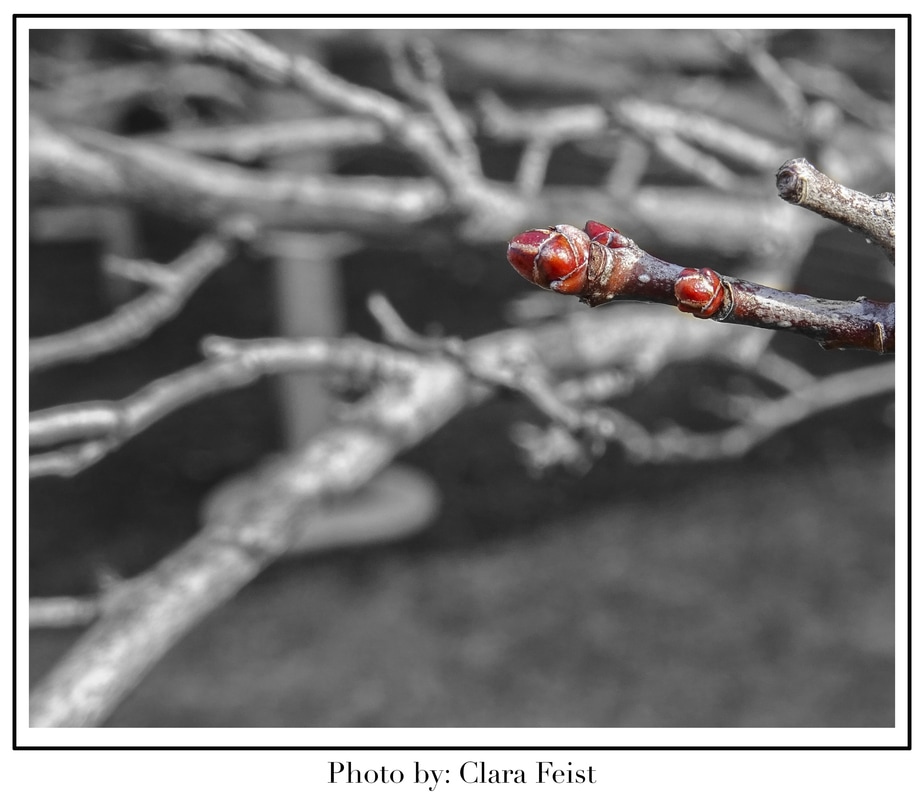
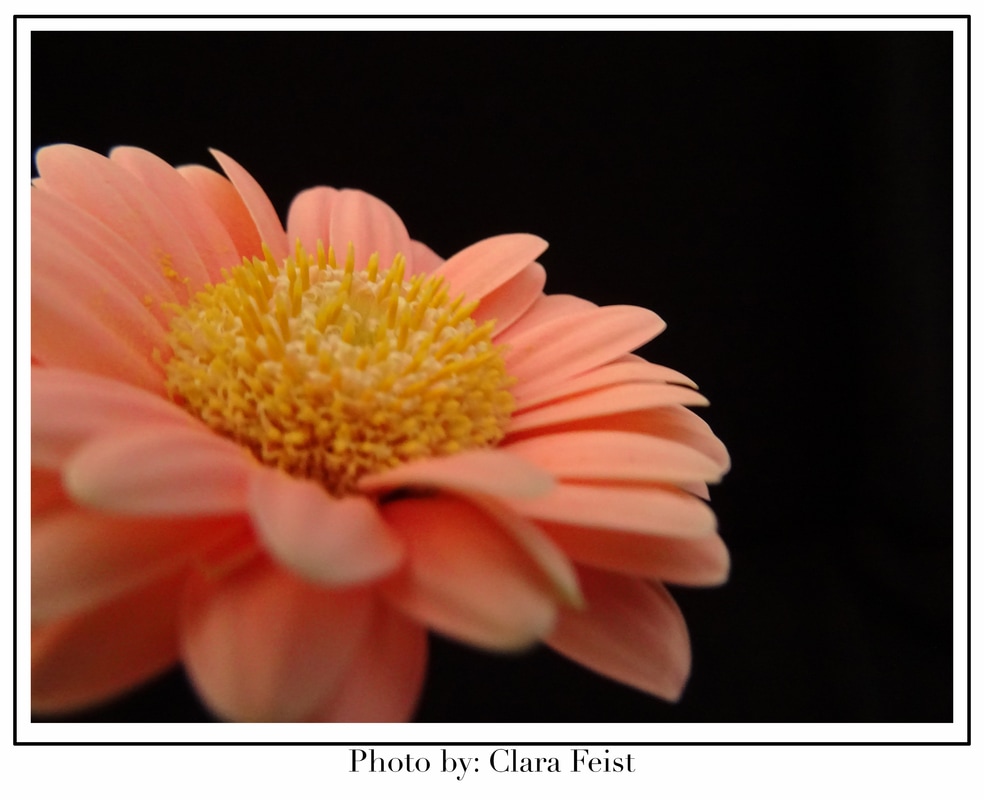
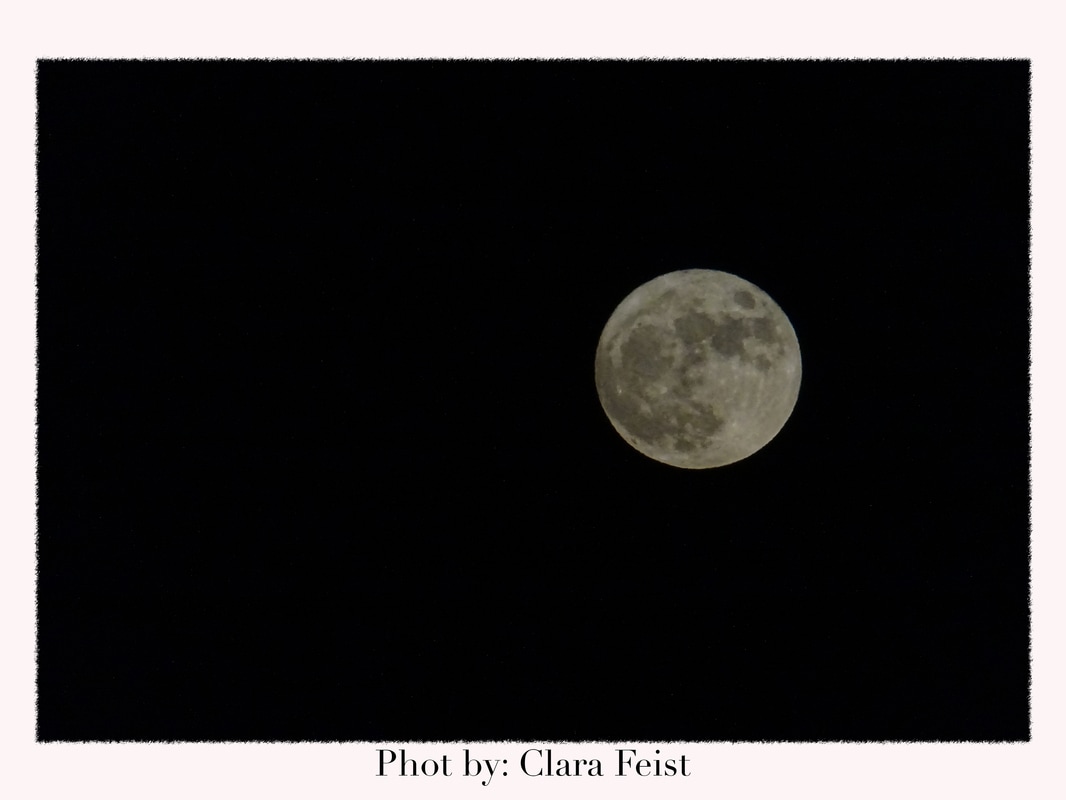
Panoramics are very interesting but also challenging pictures. Our assignment was to take panoramic pictures of our surroundings. I had some problems with these pictures. Compared to my first panoramic assignment the pictures didn't turn out like I wanted them to turn out. All the pictures are made of at least 5 individual pictures with the same exposure and same focus. Putting them together is luckily not our job, but Photoshop can put them automatically together. The very last panoramic picture for example is made of 15 pictures. As my second assignment I chose to take pictures of the nature. Since spring is coming it was the perfect assignment to do. All the sudden so many trees and flowers started blooming. You could even smell them everywhere. I had a lot of fun walking around in the sun and taking pictures of all the flowers. The moon was also very pretty one day so I decided to put this in my assignment. f/3.5 shutter speed:1/400 ISO: 80 I learned that looking closer at the things sometimes is better than taking a picture of everything at one. For example the flowers look much better close up than just the whole tree. Also is the perspective really important so that I don't place all of the flowers in the center of the picture.
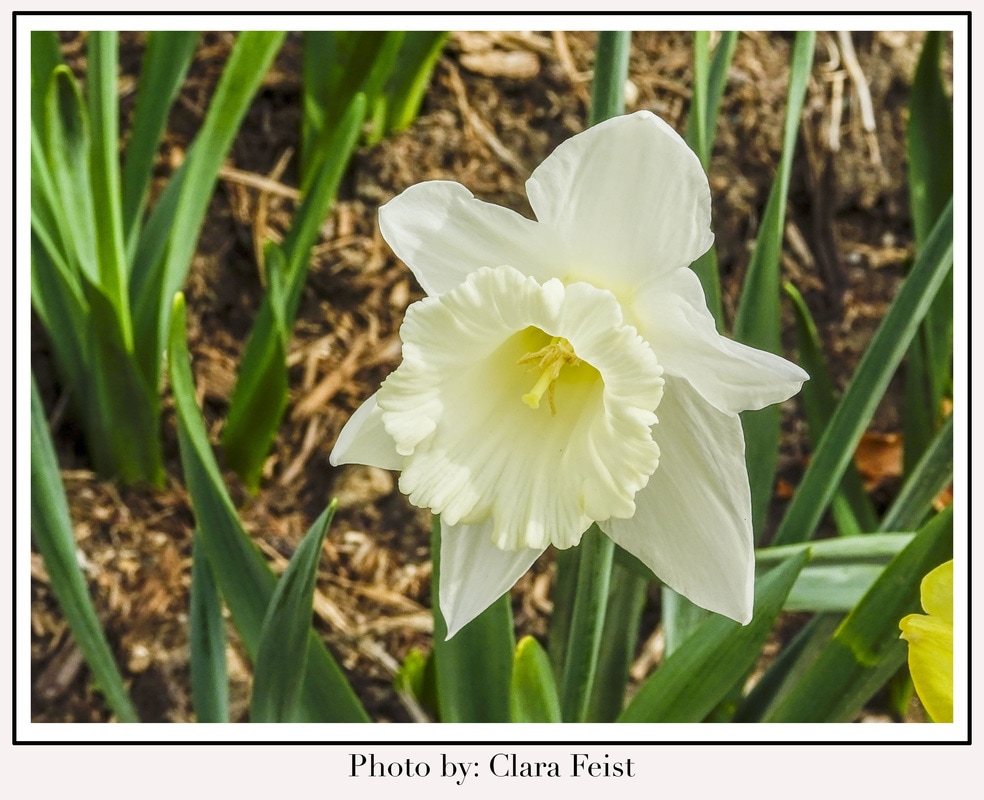
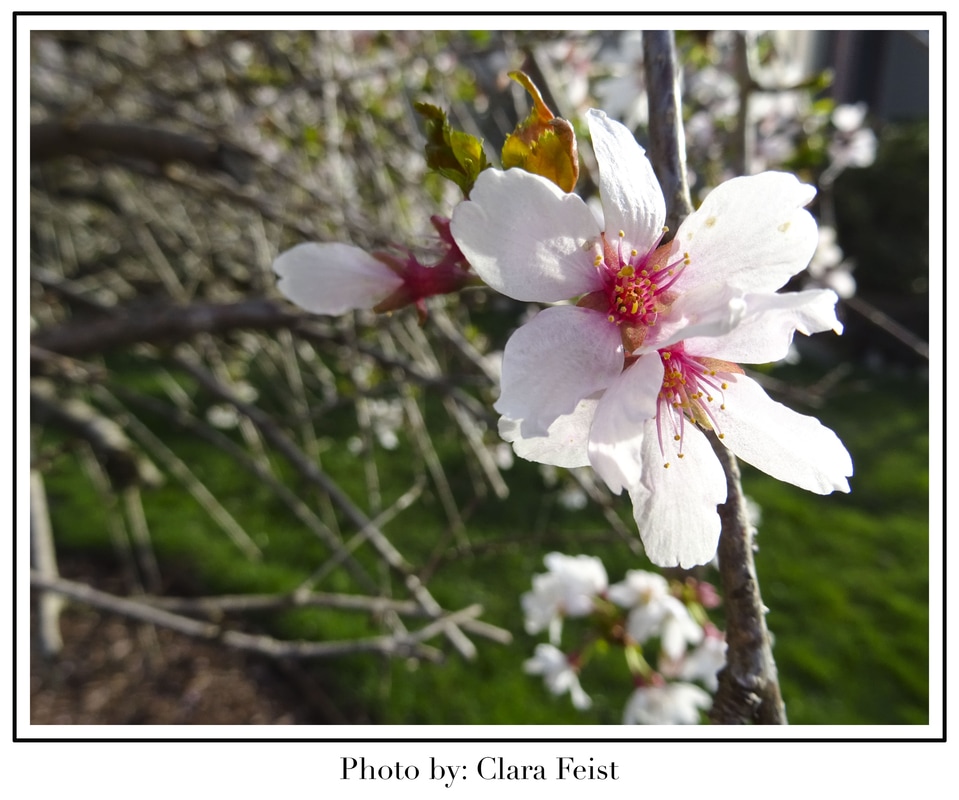
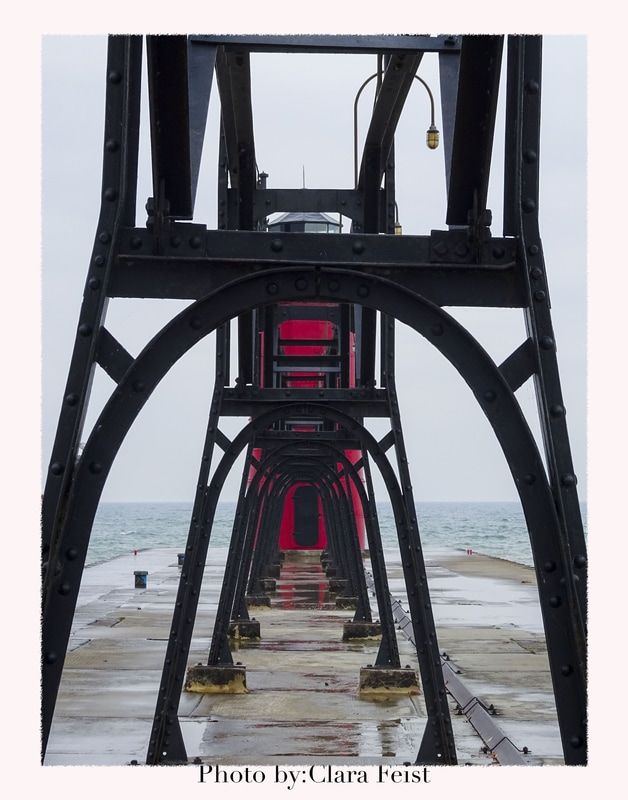
For one of our first photoshop assignments we had to make frames. We took some pictures that we took earlier and started in photoshop. In total we made four different frames on eight pictures. Different selections in the pictures and different layers made the frames possible. I discovered new parts of photoshop and I start feeling better using this program. I still don't think that I could do all these things without good instructions but I understand where to go to add new layers or in general, to create things on photoshop.
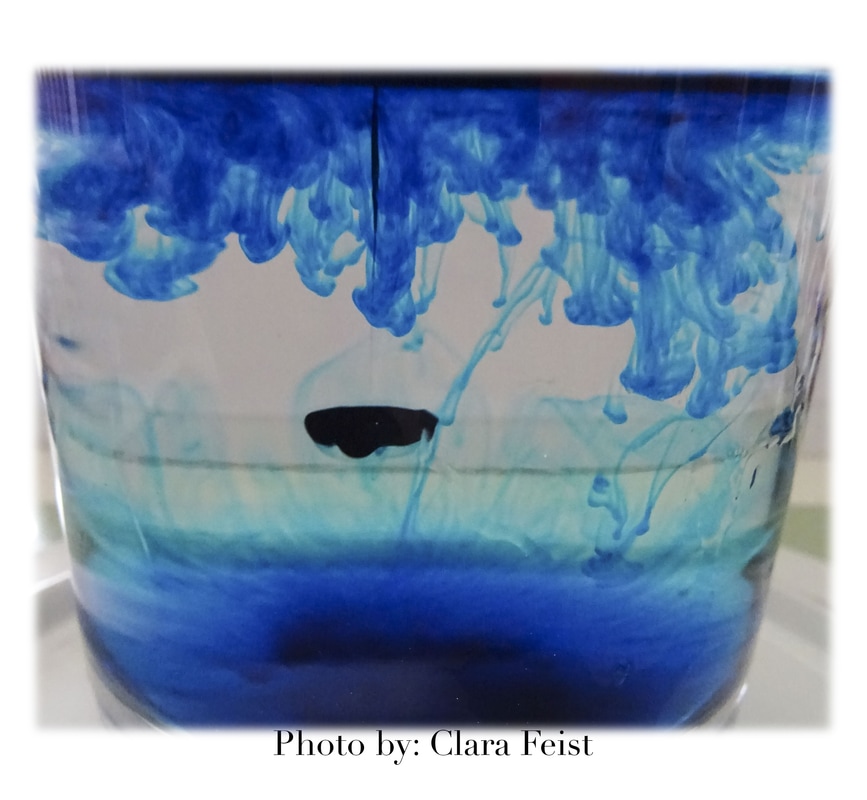
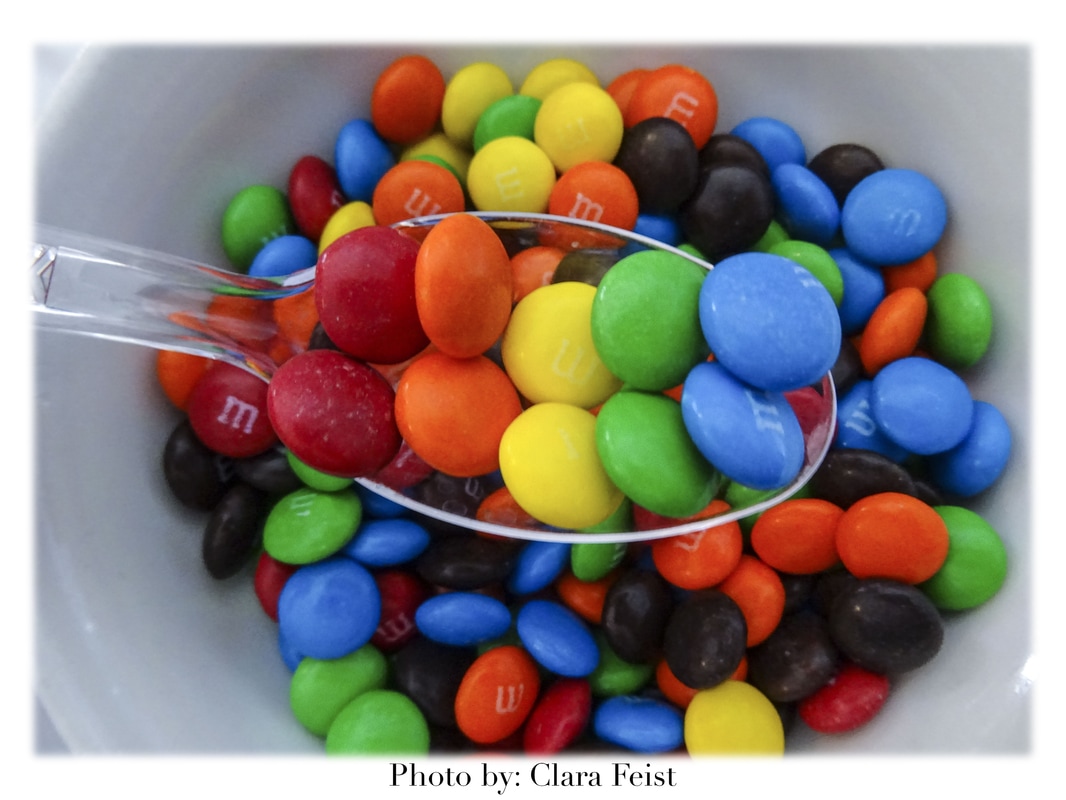
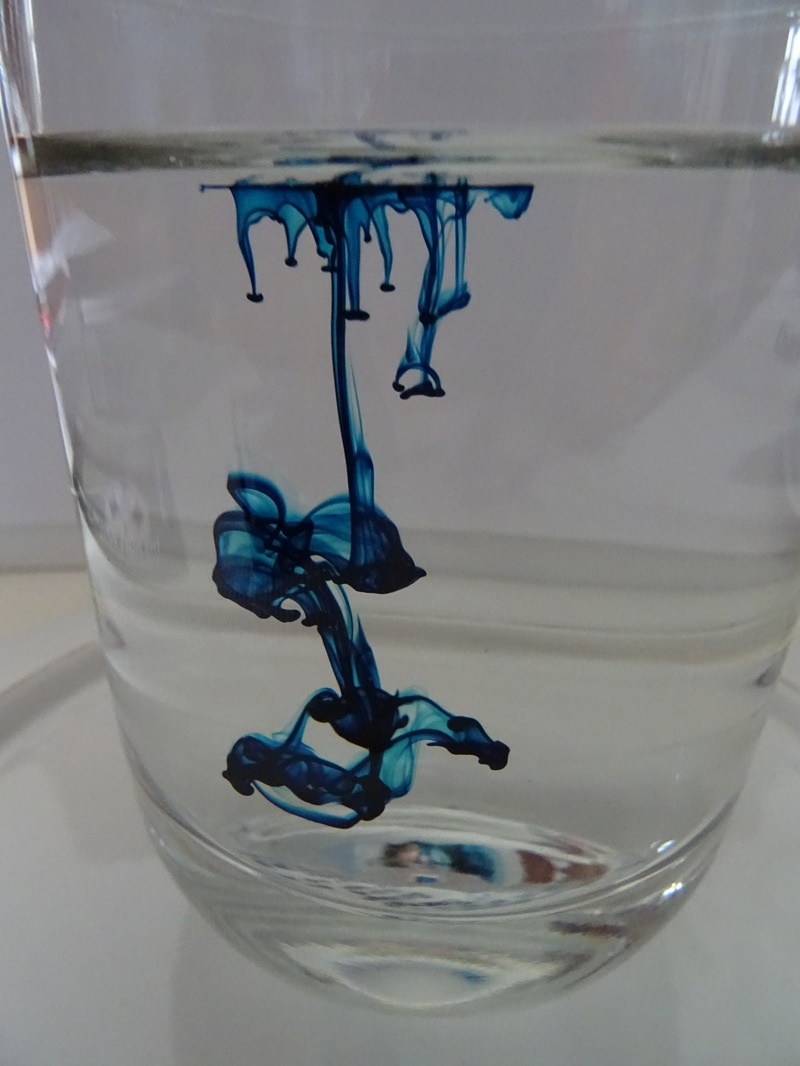
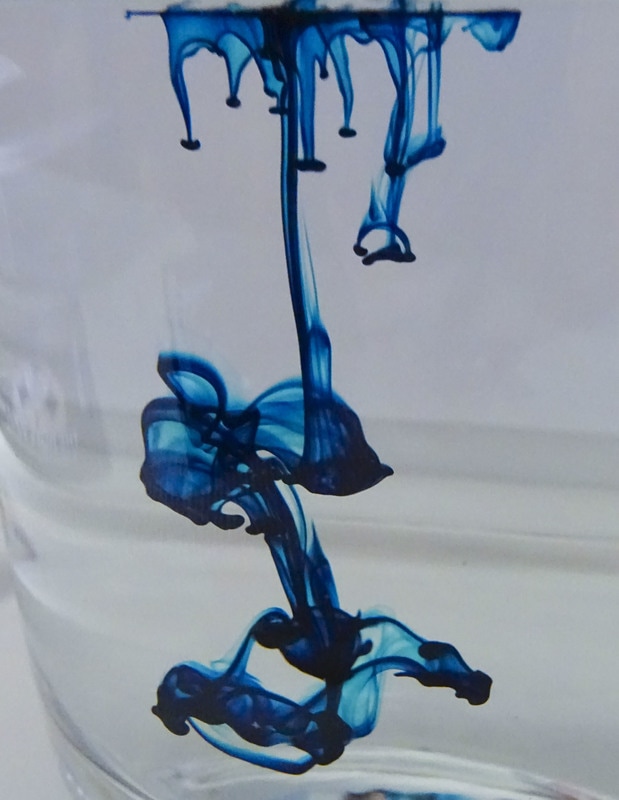
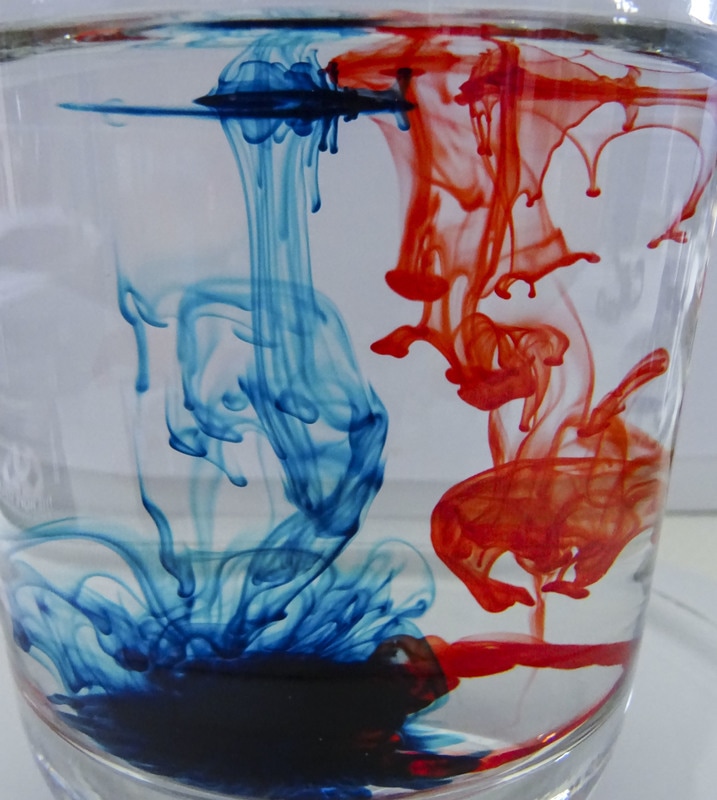
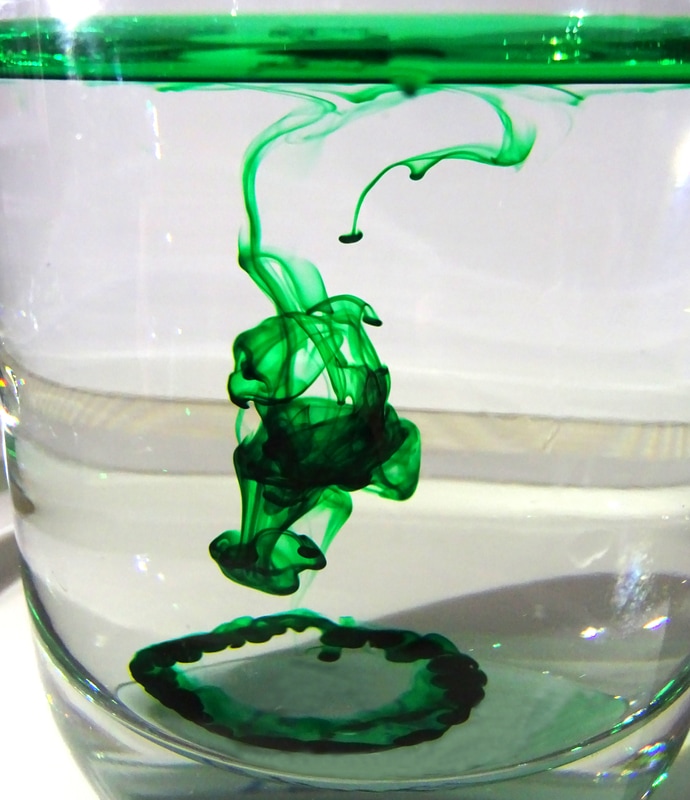
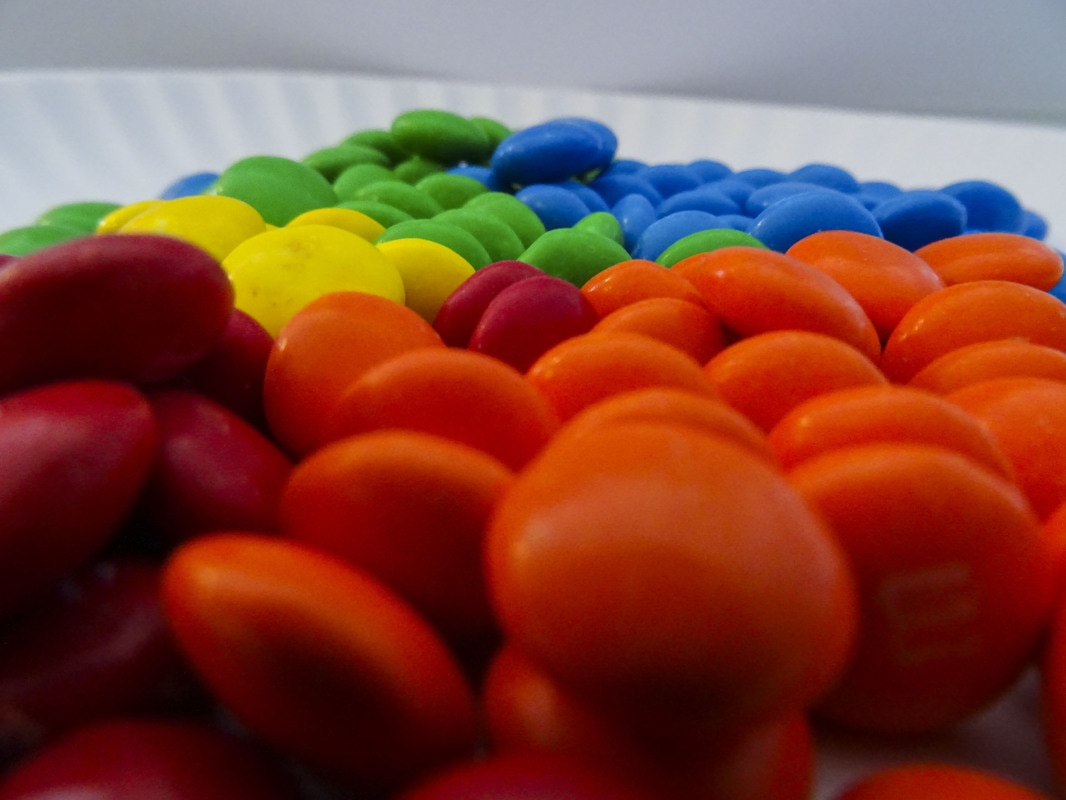
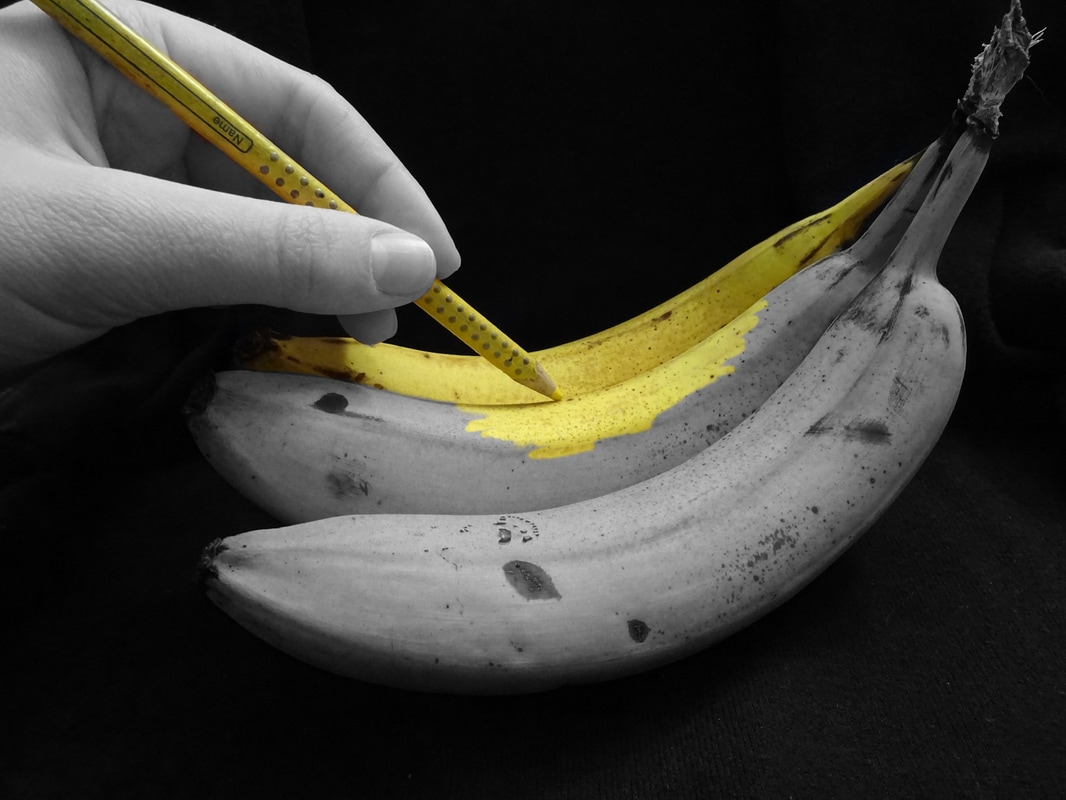
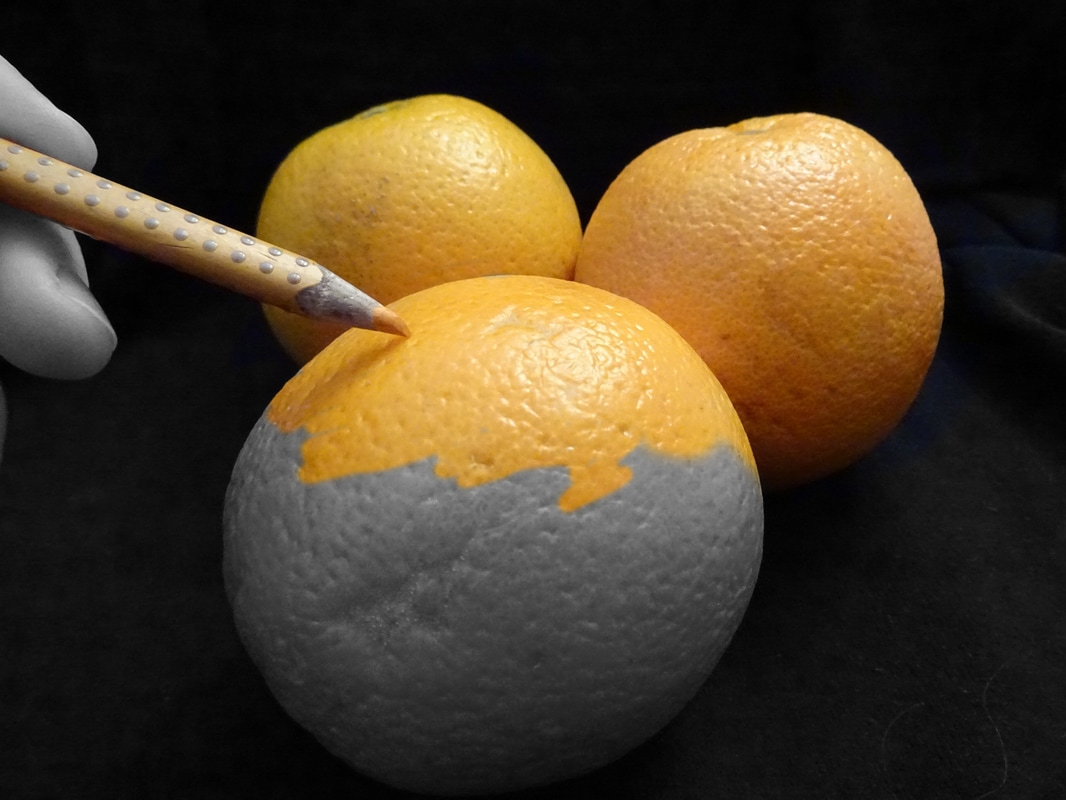
Our next assignment was called principles of design. I liked that assignment because I could be as creative as I wanted and I could take pictures of things that I wanted, they only had to have the elements of composition in them. Some pictures were hard to take like the one with the steam in the coffee mug or the one with the water drop. It took me many pictures to get the ones that are in this slideshow. Our very first assignment this last trimester was color. Color has a huge spectrum and almost everything colorful would fit in this assignment. Because there were so many possible things to do I started looking online. Very fast I found some nice ideas and tried to take similar pictures. It was hard, I have to admit, in most of the tutorials they used big SLR cameras with different lenses. I had to somehow get these pictures with my little point and shoot camera. But really I think it worked pretty well. Here my best/favorite picture in this assignment. My edits: I turned the exposure up, cropped it, turned clarity, vibrance and saturation up a little bit. I learned that even with a little bit of equipment, you can get interesting pictures. All I used for the food color pictures was a piece of paper as the background, a glass of water and of course the color. For my black "studio" I used two black shirts and my flashlight. I learned that most good pictures don't depend on the most expensive equipment but on the way you make them look good.
|